Siliconization of syringes
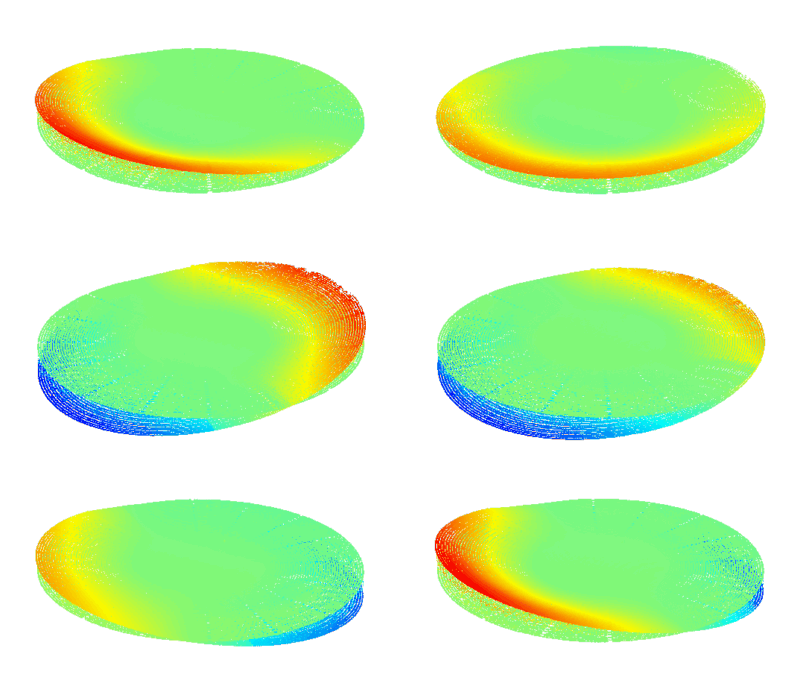
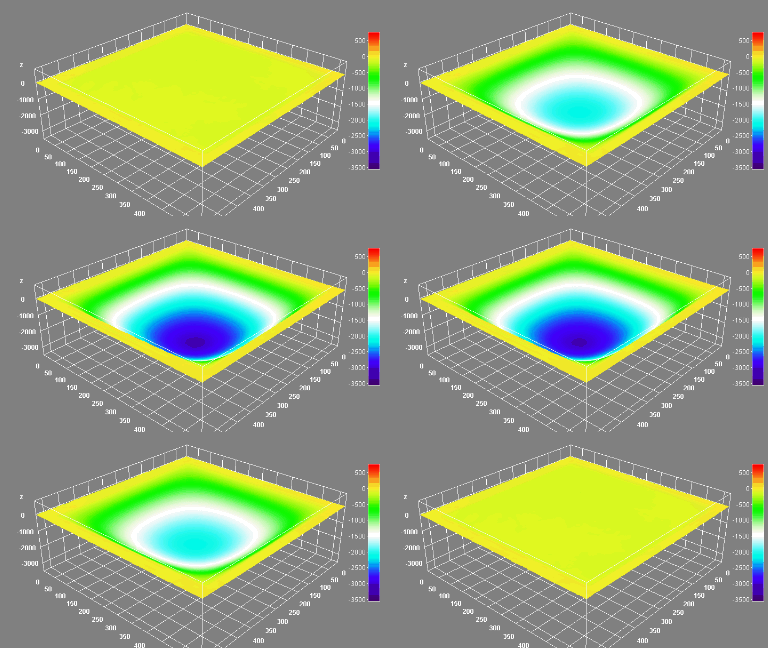
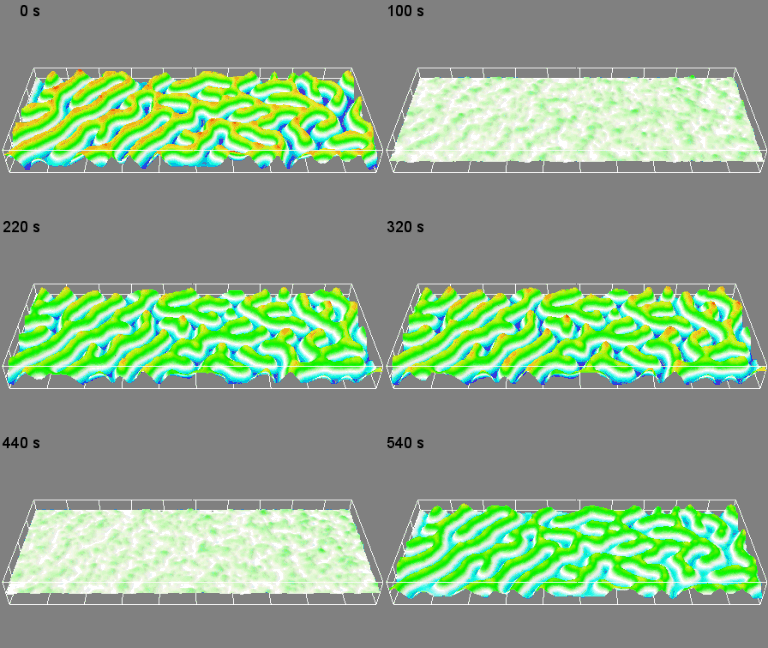
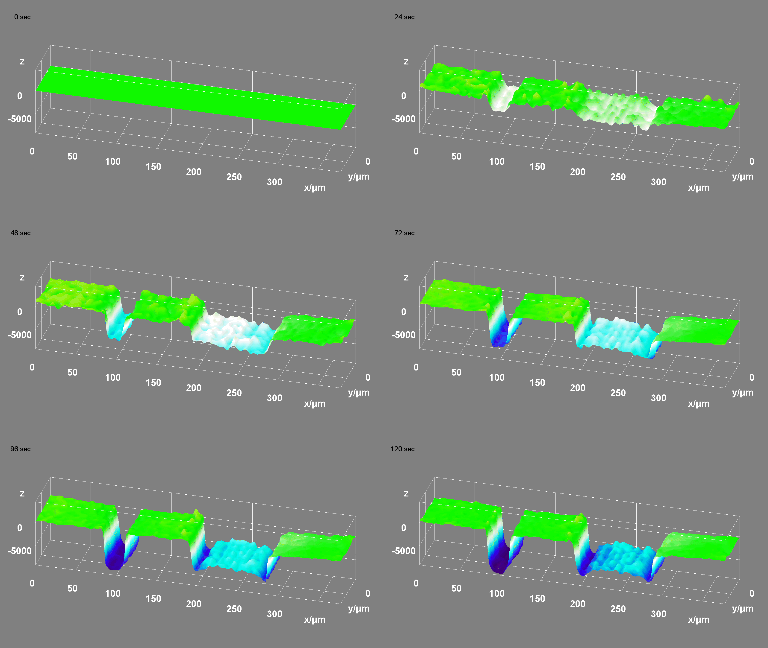
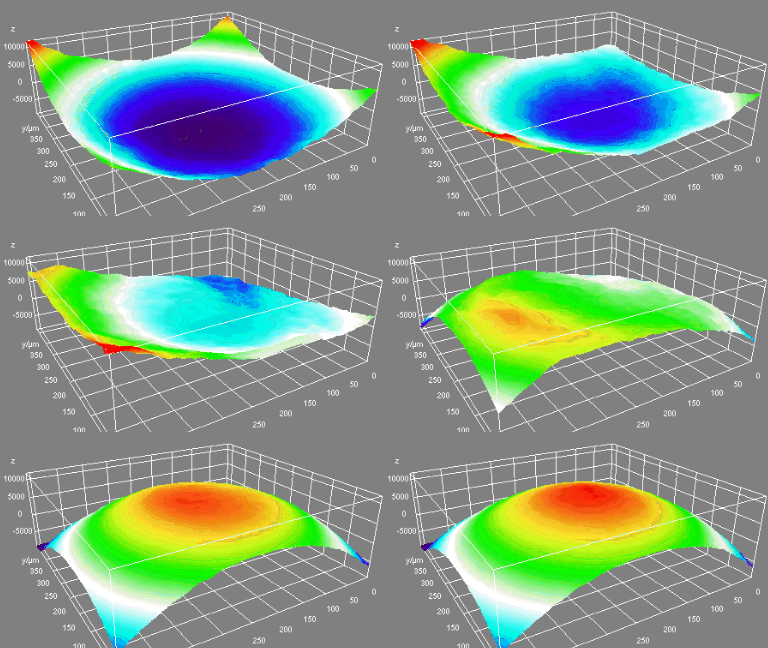
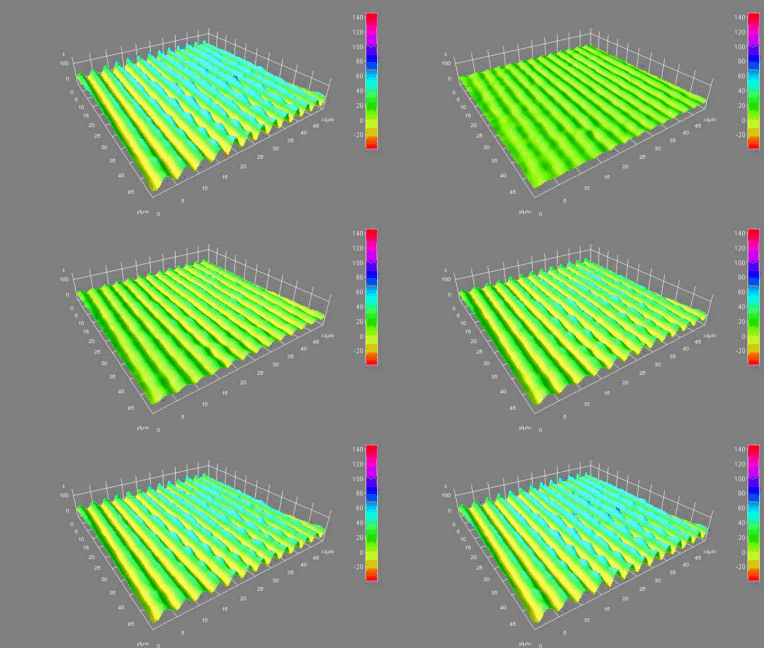
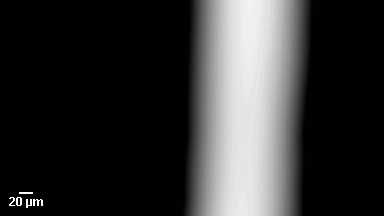
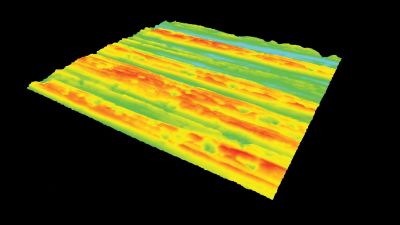
Lyncée has developed in close cooperation with the EMEA Technology Excellence Center (TEC) laboratory, in Italy, an automated system to measure the amount and the spatial distribution of silicone deposed on the inner surface of pharmaceutical glass containers (e.g., syringes). Control of the thickness and uniformity of silicone on the inner container surfaces is fundamental to guarantee functional and cosmetic performances of glass containers.
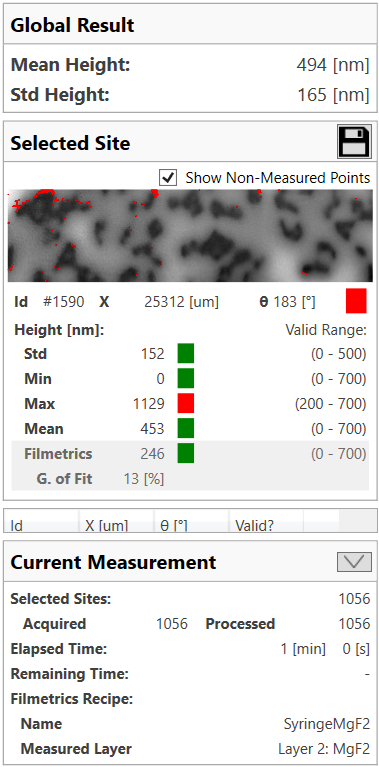
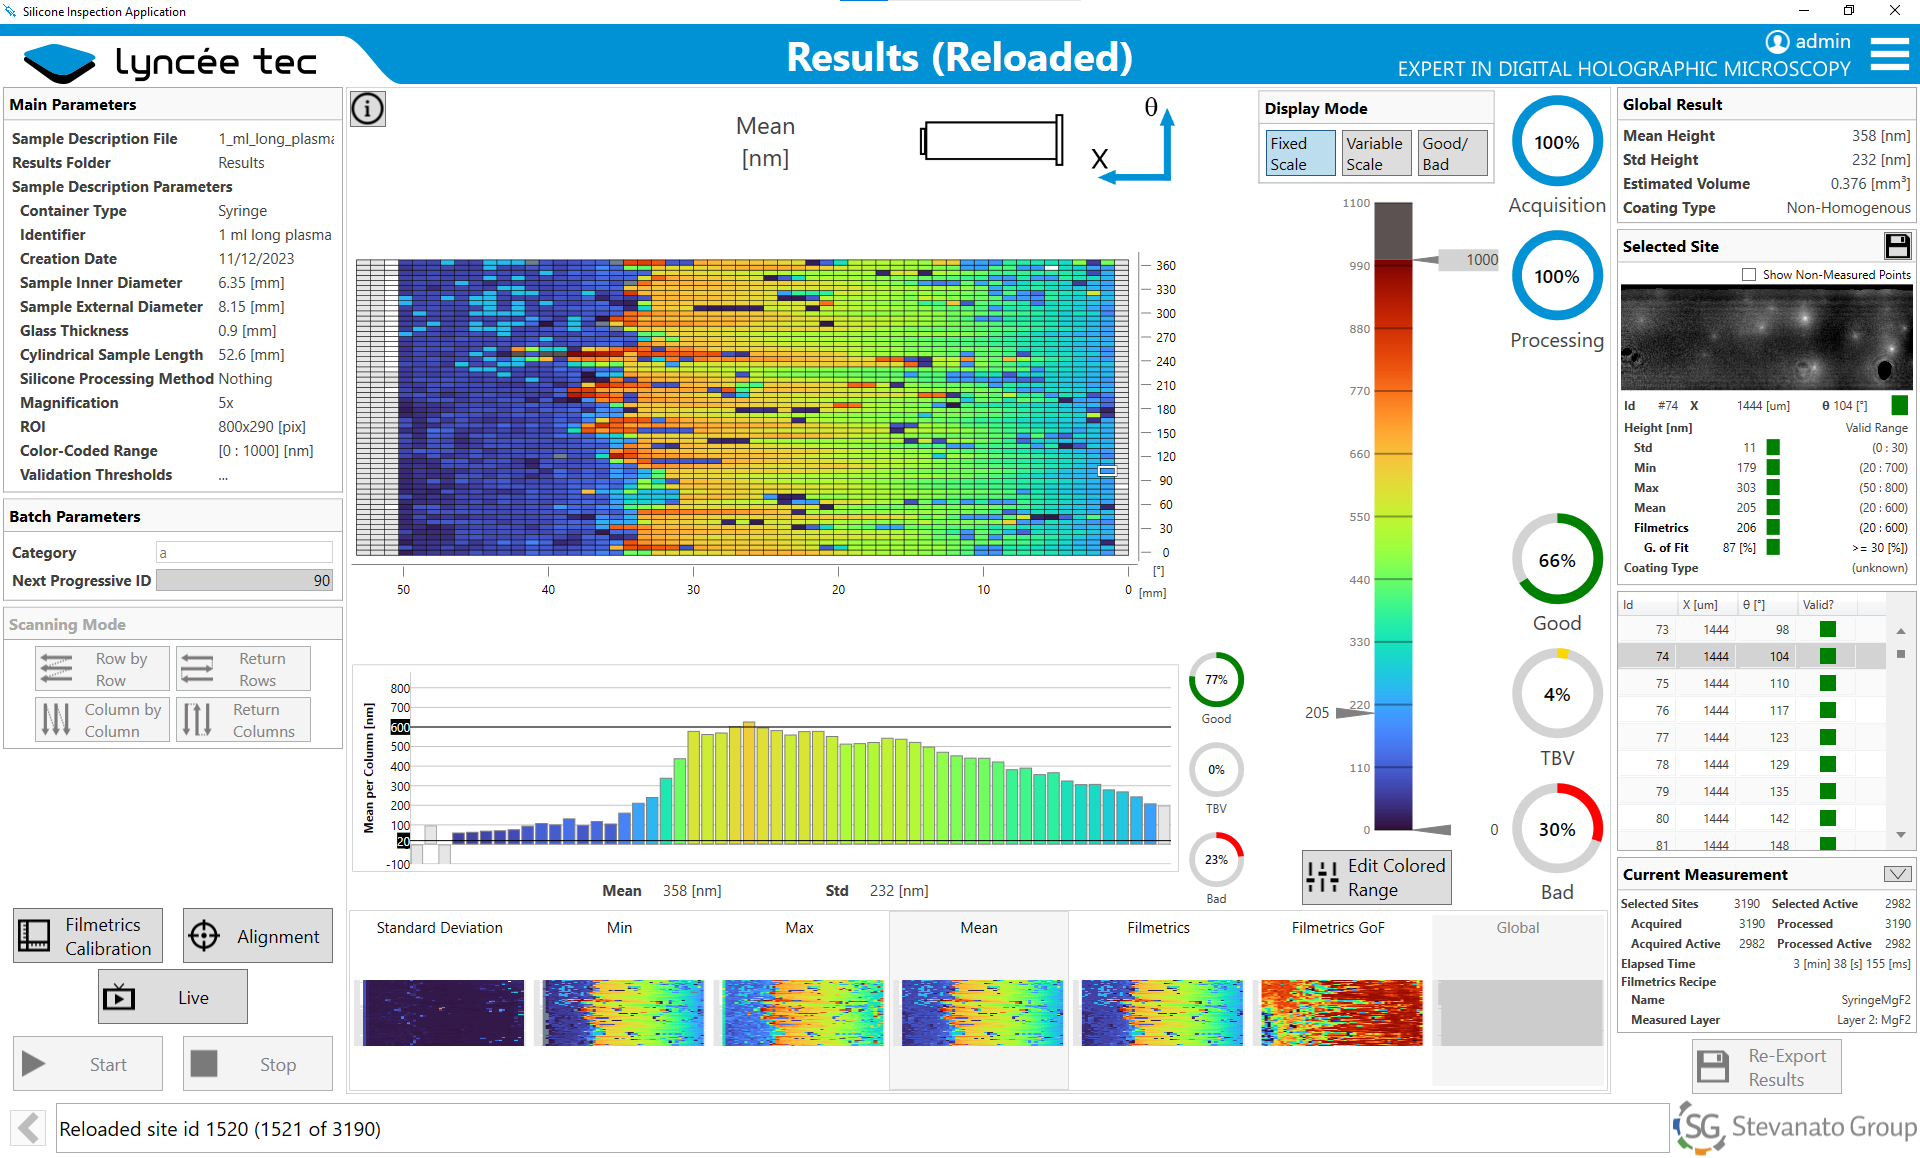
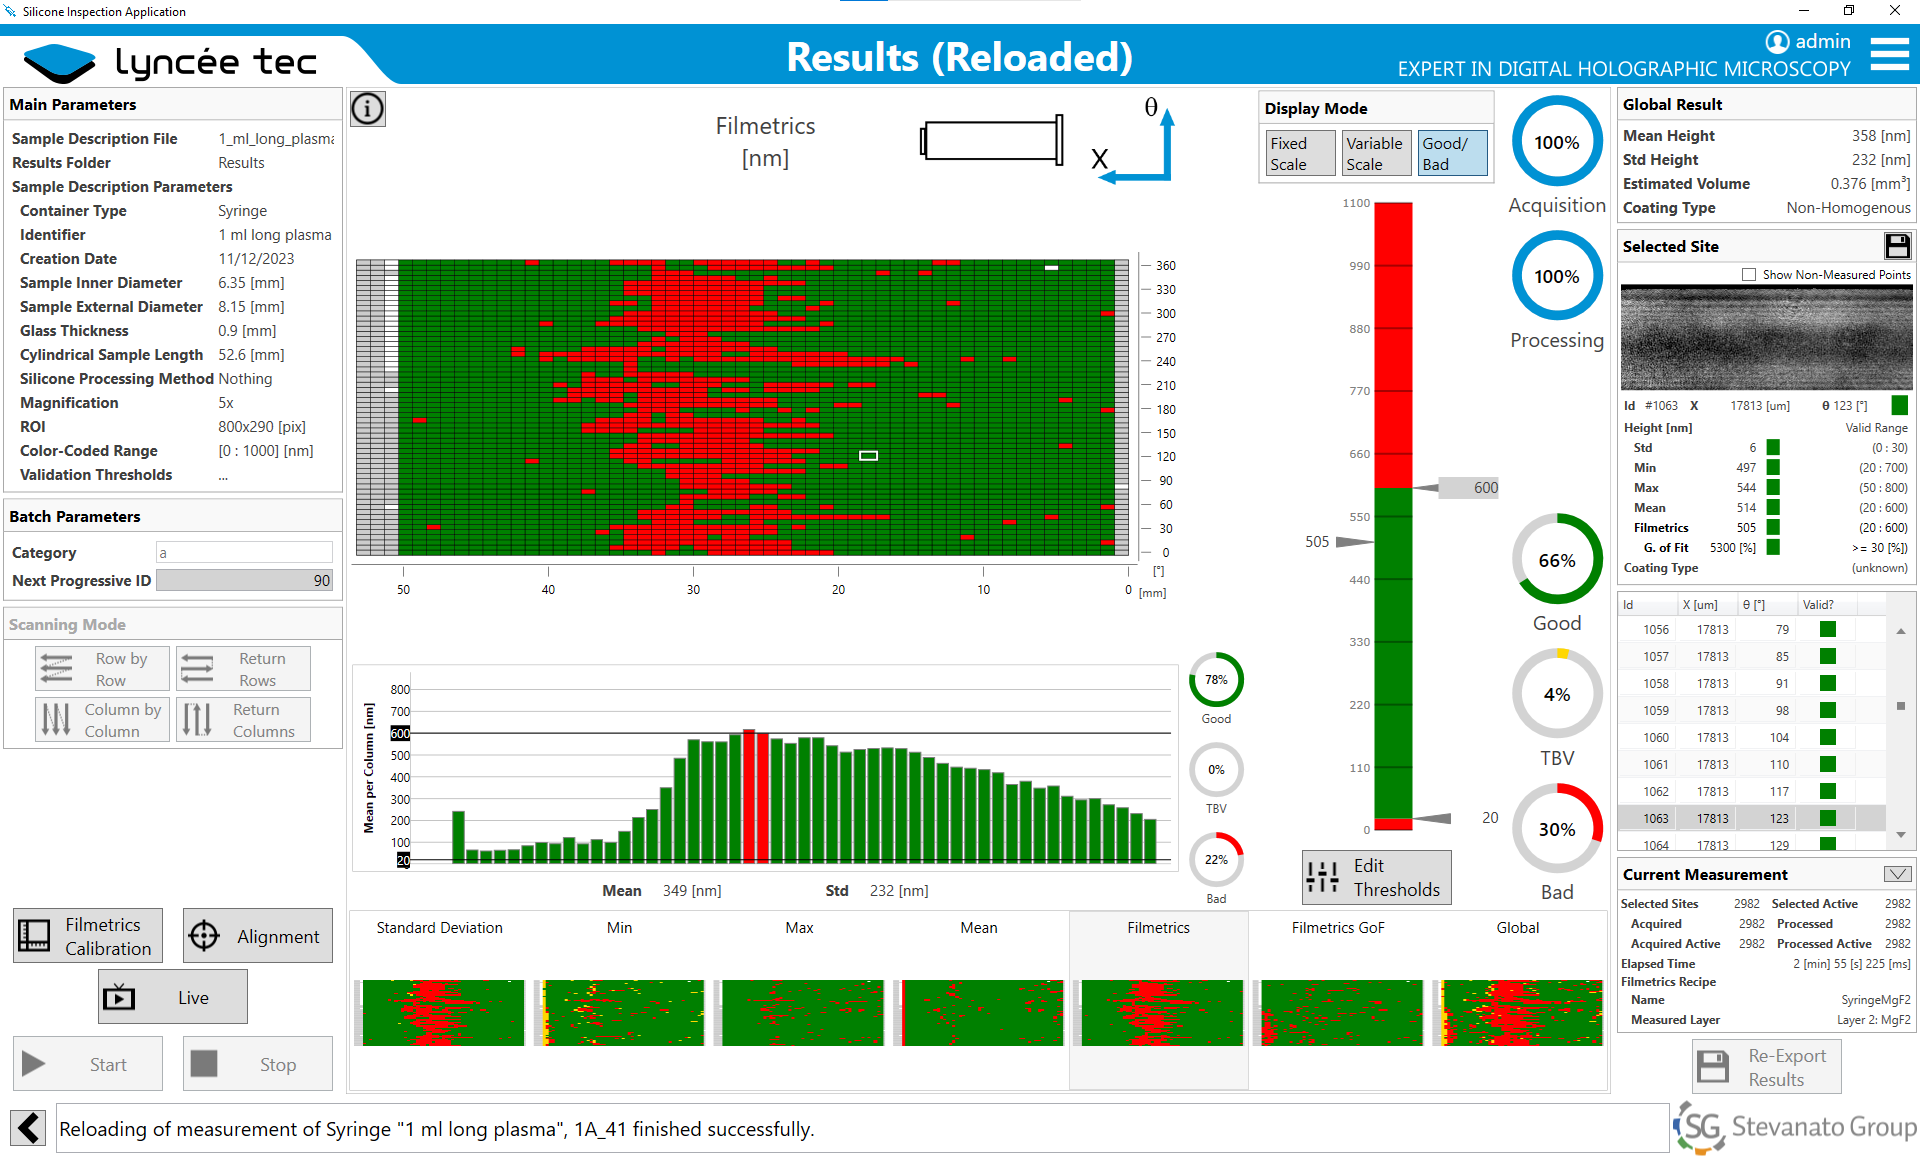
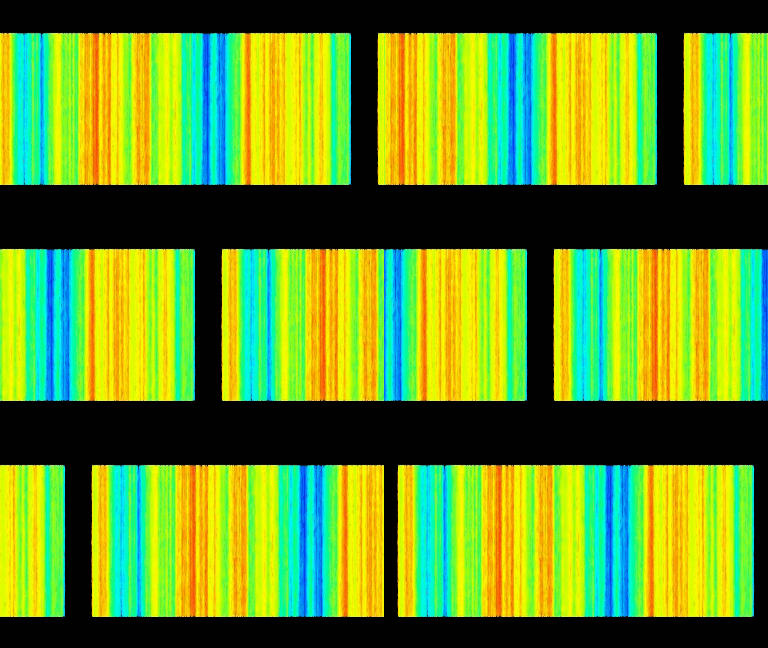
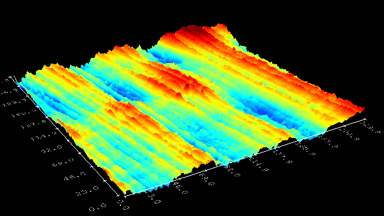
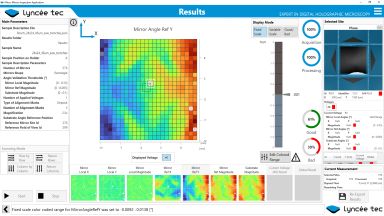
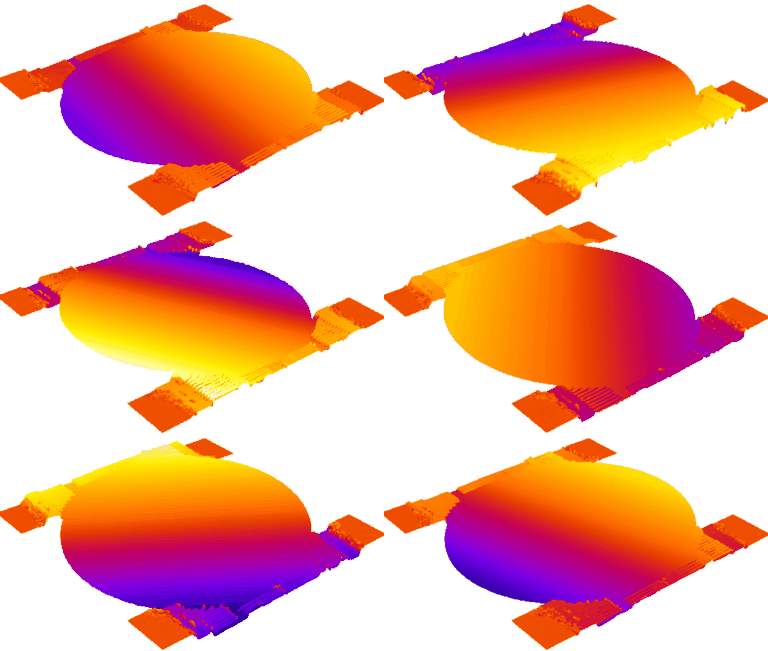
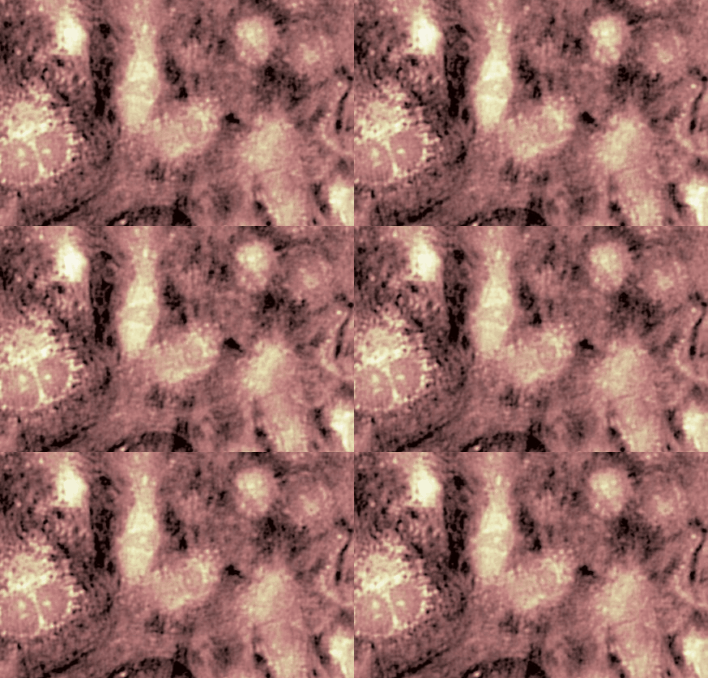
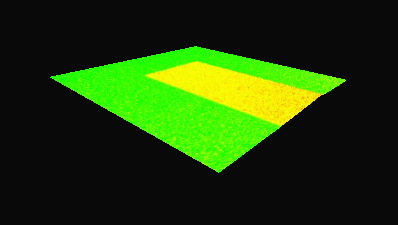
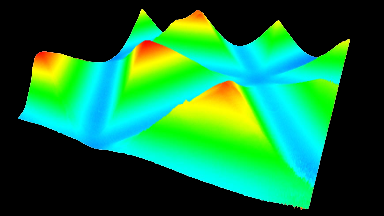
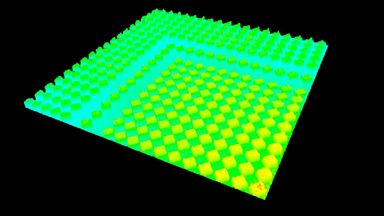
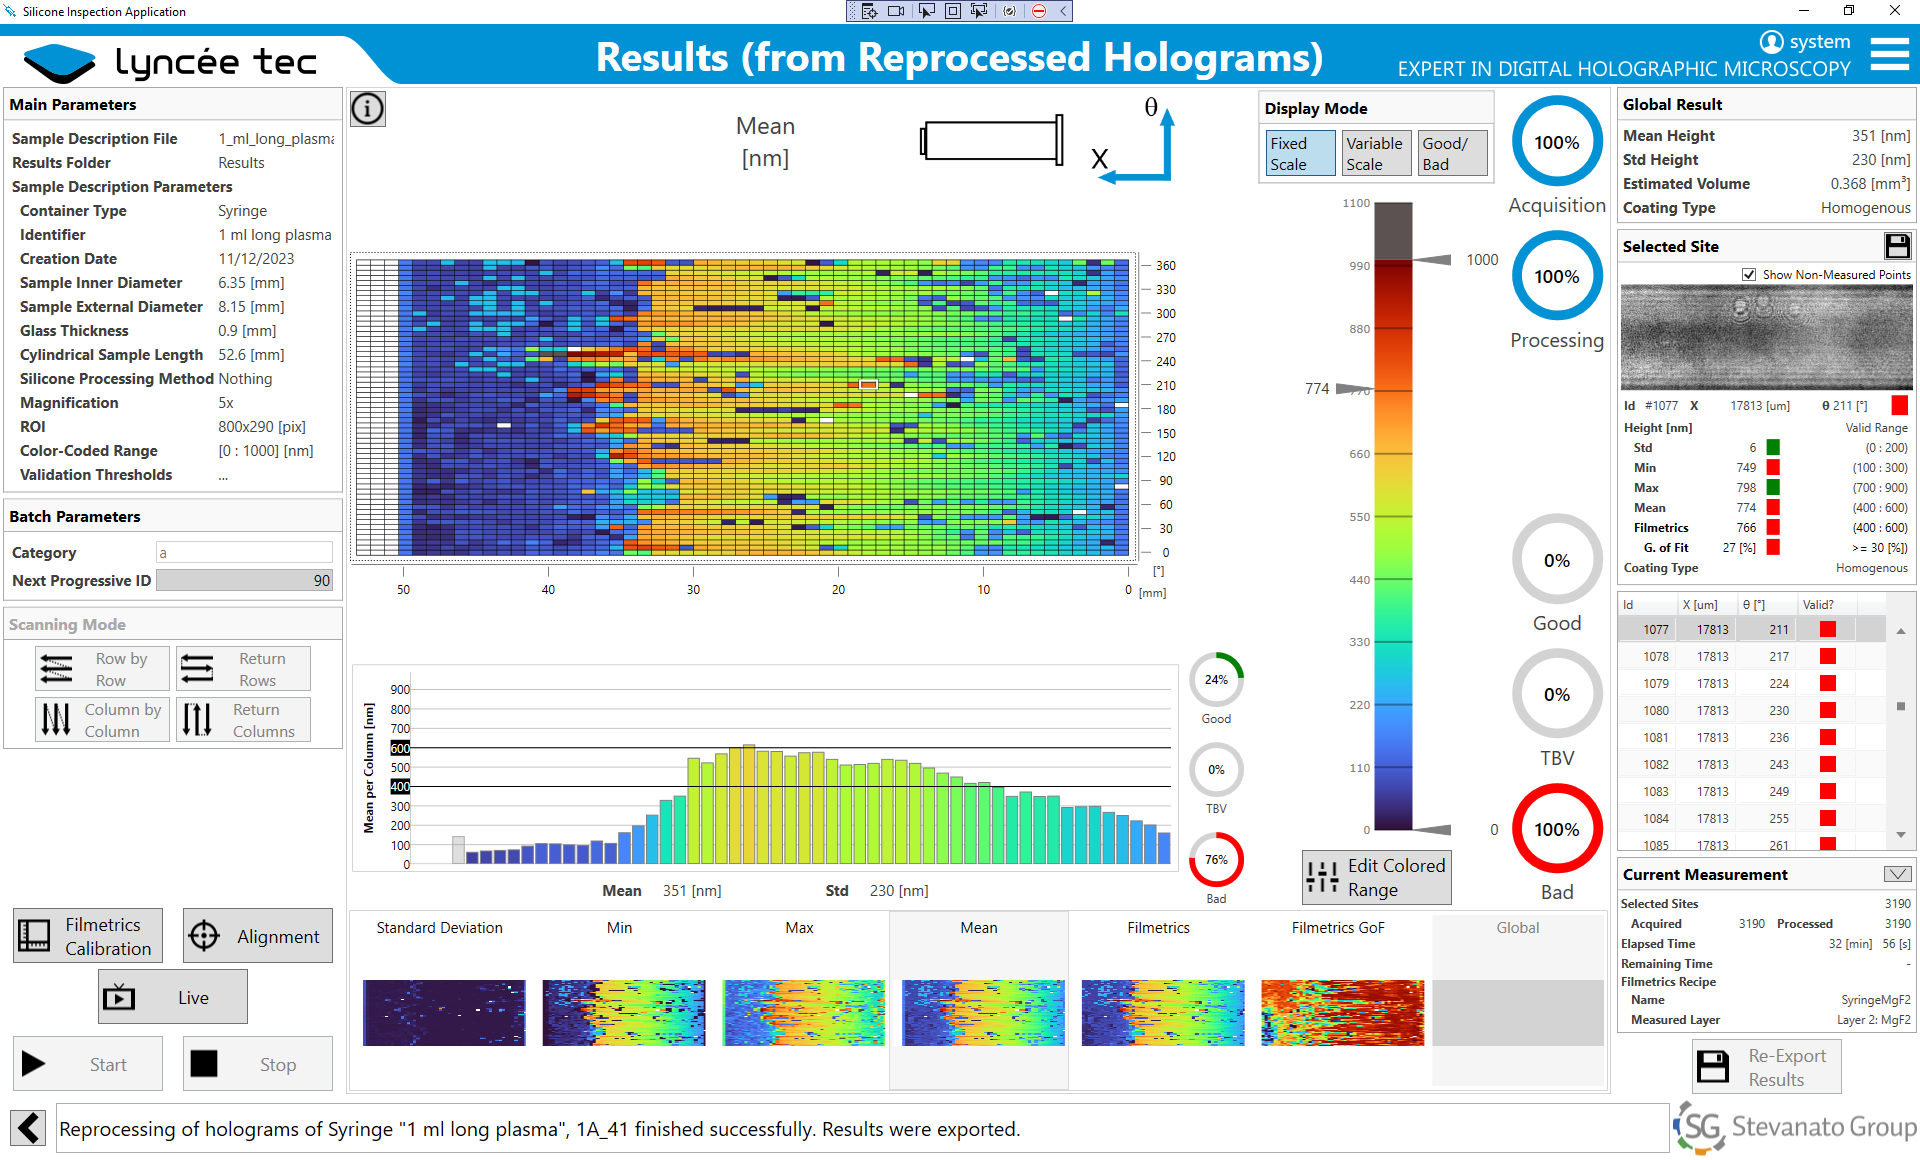
Our microscope-based technology allows a true areal characterization with micrometer-scale lateral resolution and unprecedented speed. The average value, minimum value, maximum value, and standard deviation of the silicone thickness, with nanometer vertical resolution, are automatically mapped across the entire siliconized surface. These metrics are measured on each pixel, for each field of view, along each section, and across the entire sample, providing information not only on uniform silicone layers, but also on non-uniform ones. Thresholds can be set for quality acceptance decisions.
The method can be adapted, on request, to other sample types and geometries.
“Improving the silicone deposit in syringes and containers, characterizing it, and controlling it with ever greater precision is at the heart of our quality policy. The control systems available on the market did not completely allow us to do this satisfactorily for last generations of syringes and containers. We therefore worked closely with Lyncée Tec to develop a measurement system based on their DHM technology that meets our testing requirements.
We verified the developed system by performing multiple measurements on all types of last generation syringes and containers. Among other things, we compared the total quantity in the syringes measured by the DHM with that calculated from the difference in weight before and after
the siliconization process. The verification included different strategies and comparison with other analysis and technologies (e.g., different instruments, different methodologies, calibrated standards…) .DHM has thus become our reference instrument for assessing the quality of coatings for last generation syringes and containers.“
Martina Brosadola, Advanced Technology Senior Analyst, EMEA TEC, Italy.

- Material:
- Glass syringes, vials and cartridges
- Siliconized walls
- Diameter from millimeters to centimeters
- Sample length: < 100 mm
- Silicon thickness: nm to mm
- Automated Process
- Manual sample loading
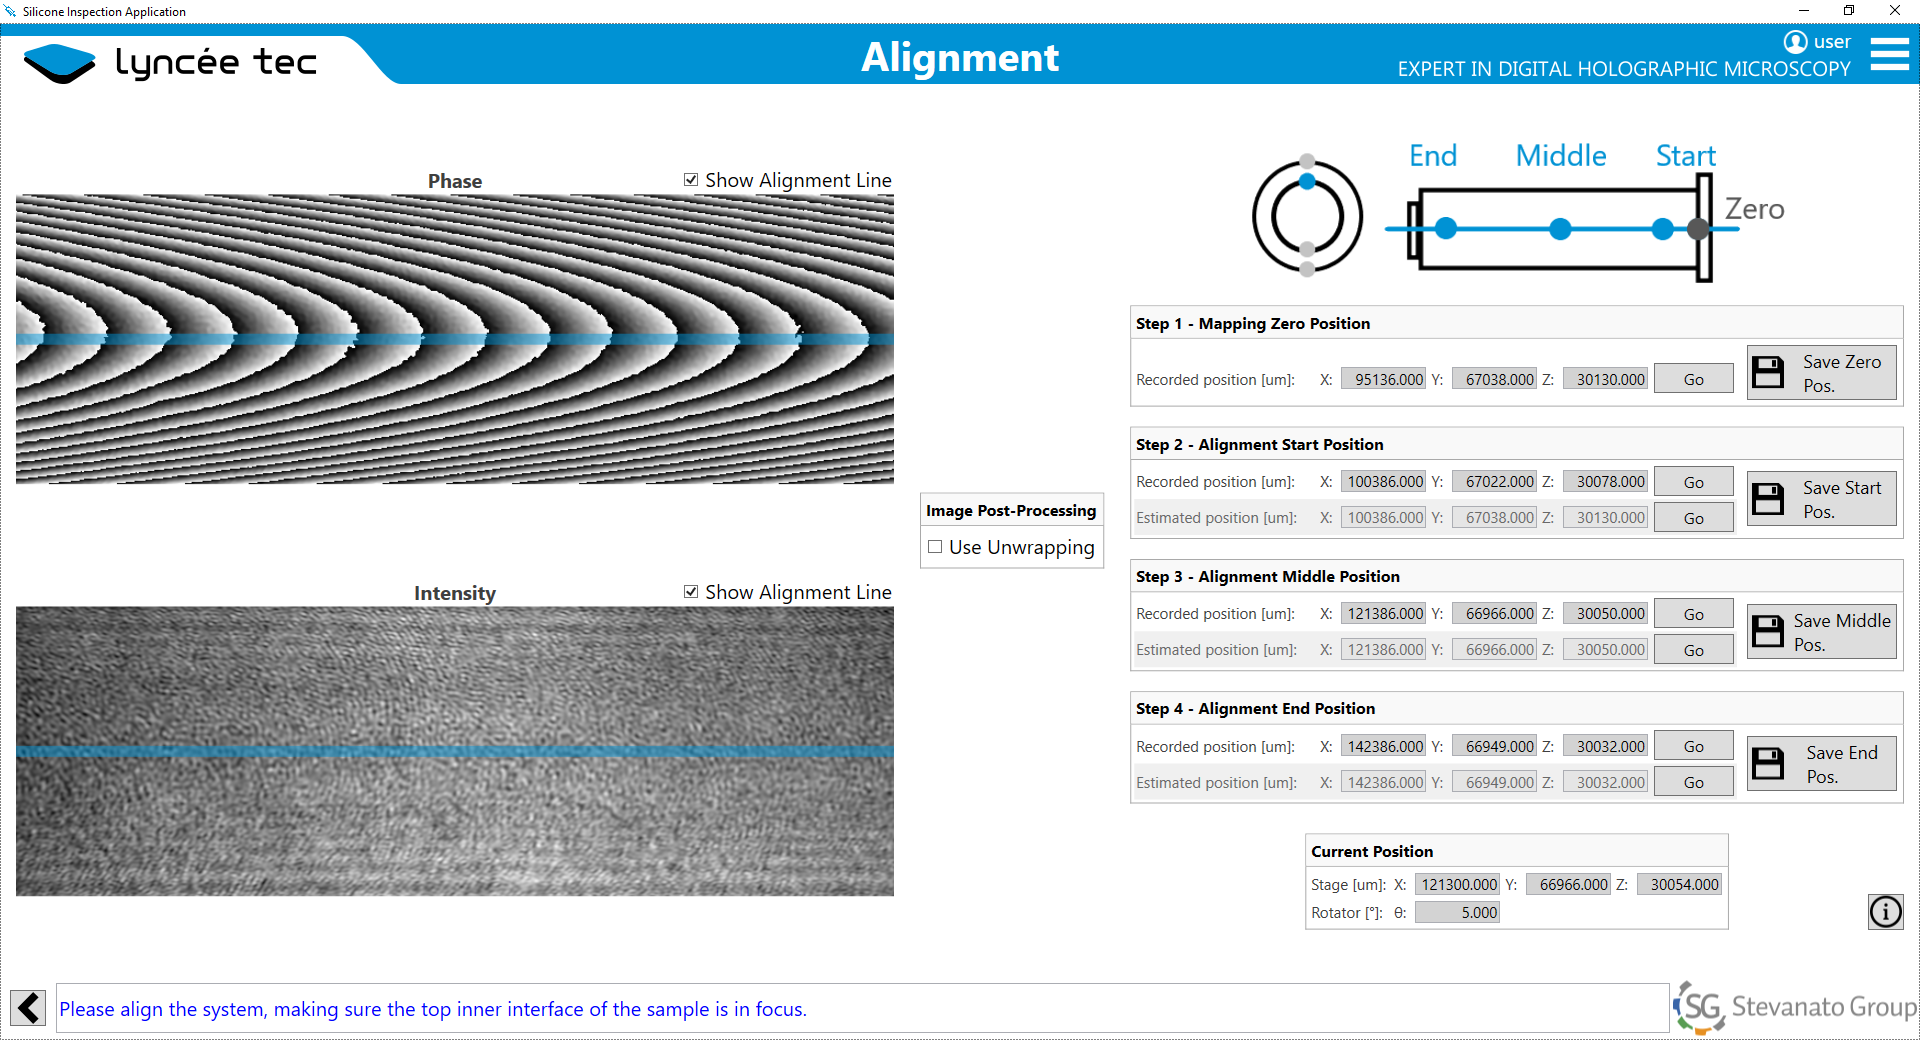
- Semi-automated alignement of the sample
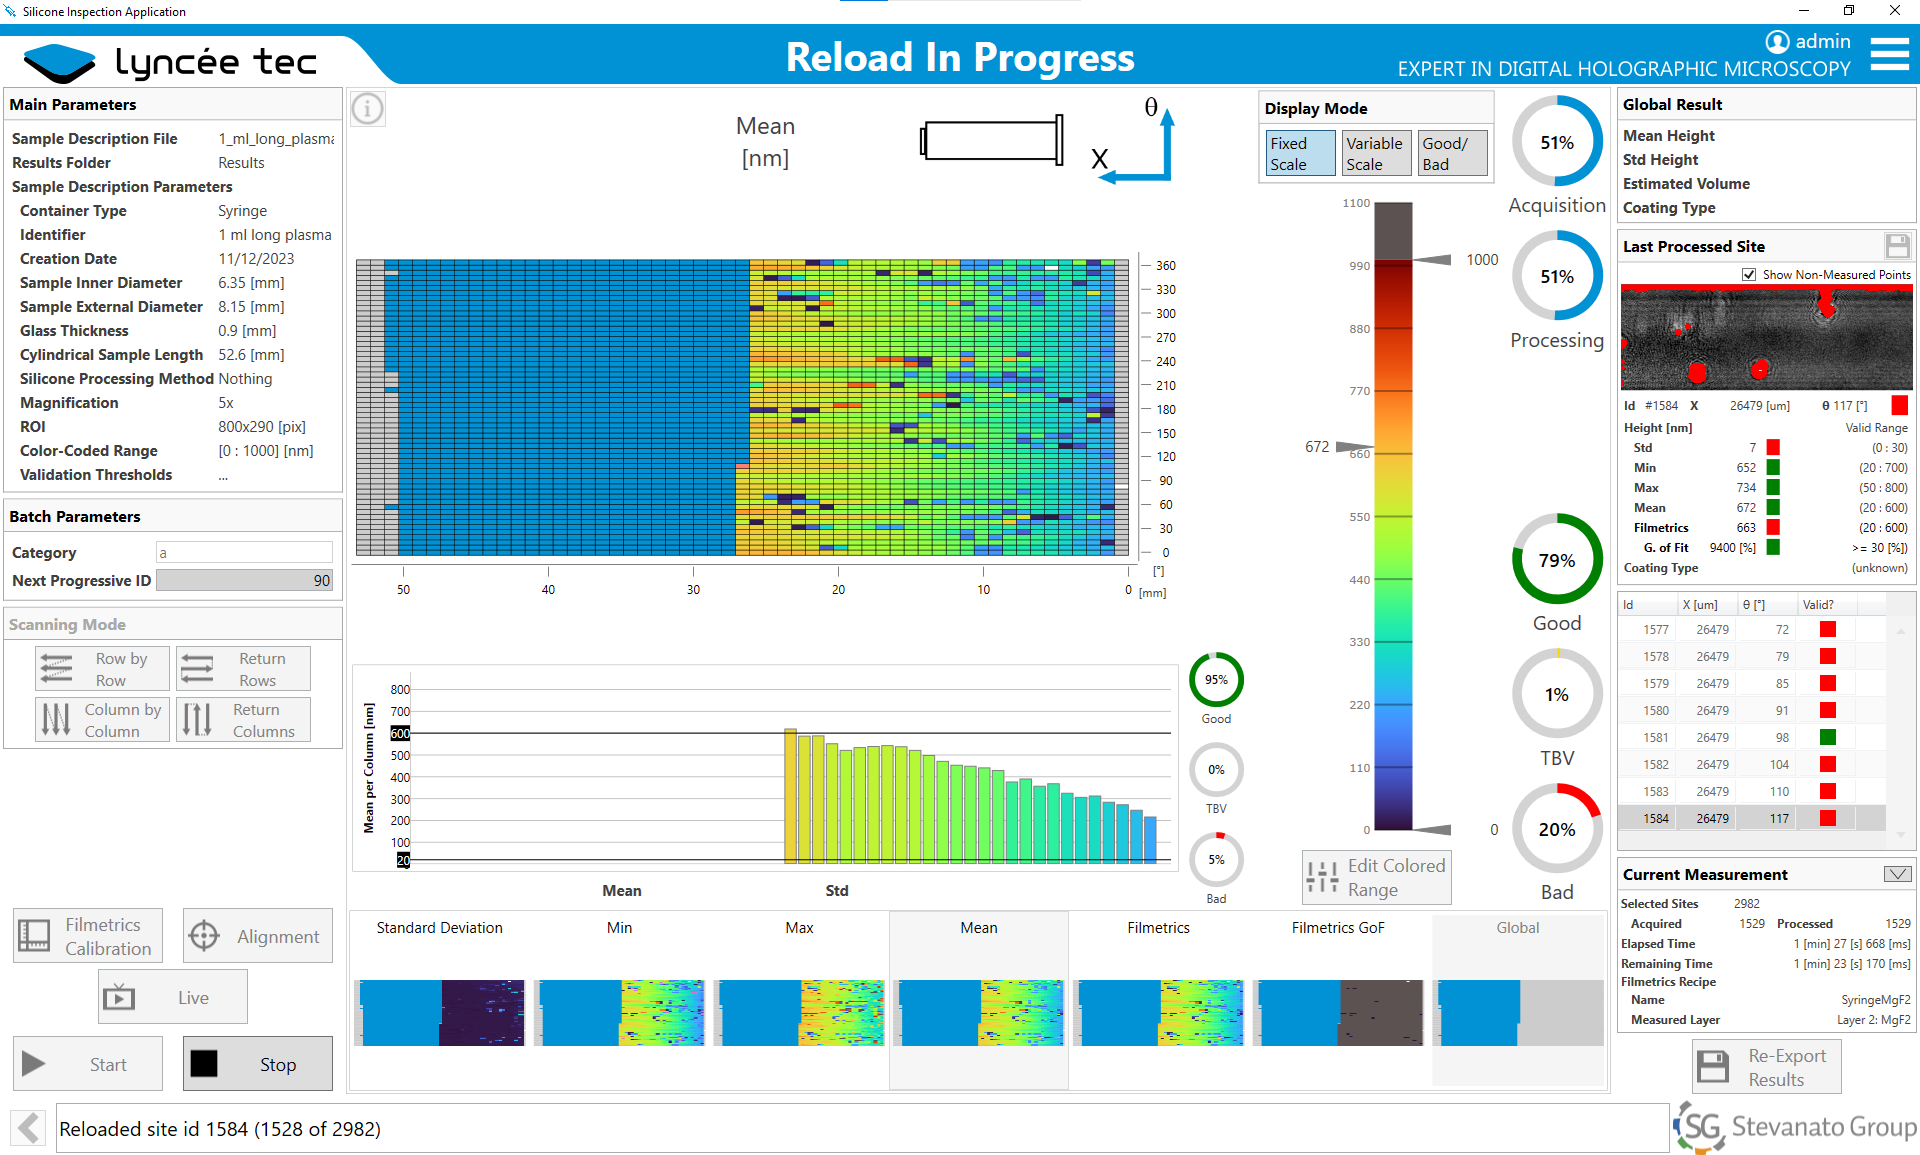
- Scan of the surface with automated focalization
- Display of the metrics (minimum value, maximum value, and standard deviation of the thickness ), allowing their analysis.
- Automated report
- Instrument:
- Software
- Silicon Inspection: for system control, measurement display and analysis, and data reporting
- Time scale depends on sample size and measurement coverage. Typical measurement overall time is minutes to hour.
- Magnification: 5x, 10x, 20x depending on the sample diameter
