Micro-Mirror Arrays Quality control
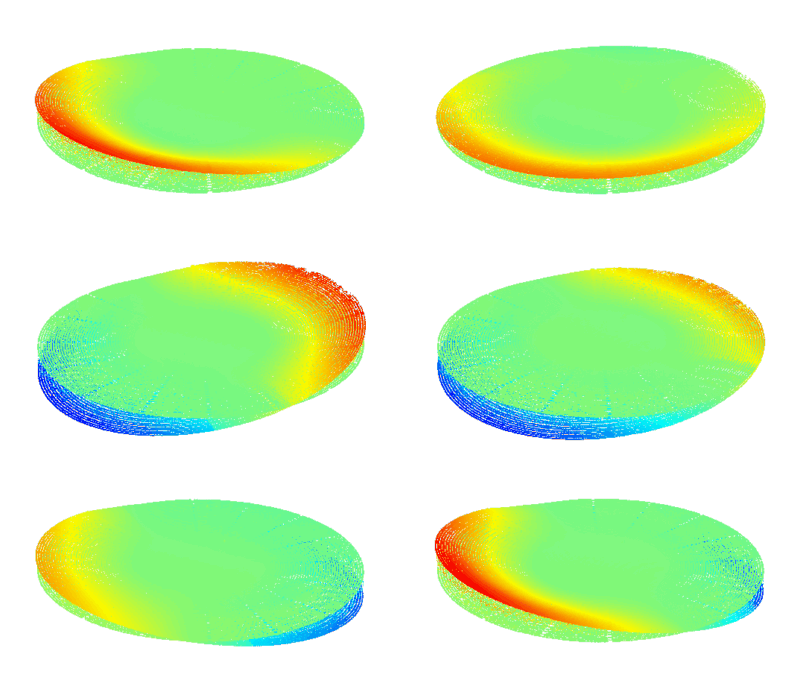
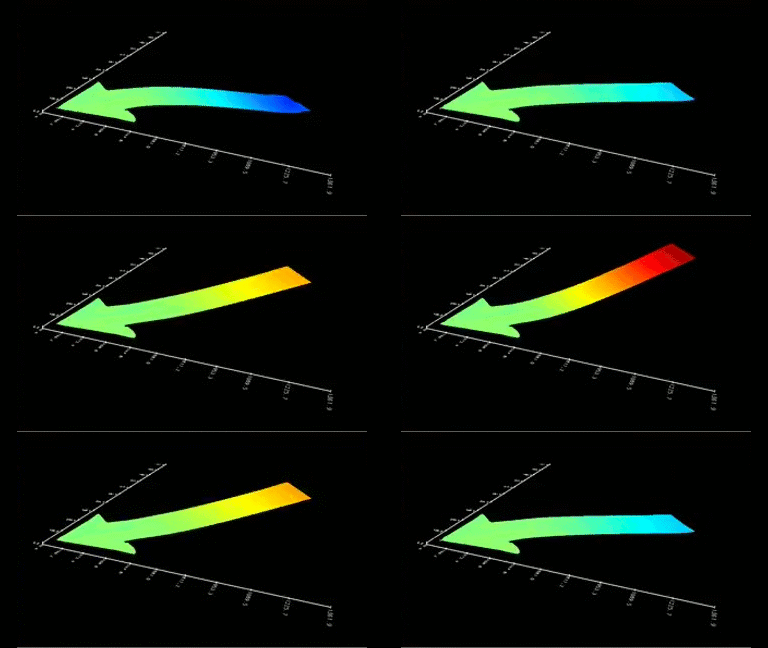
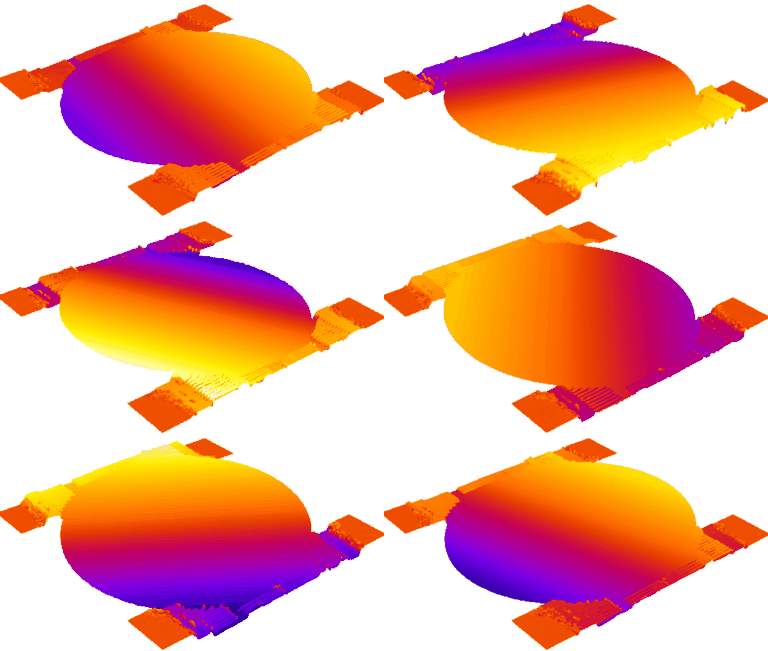
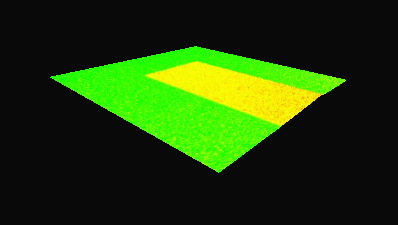
Micro-mirror calibration of Tilt/Tip deflection versus applied voltage and geometry
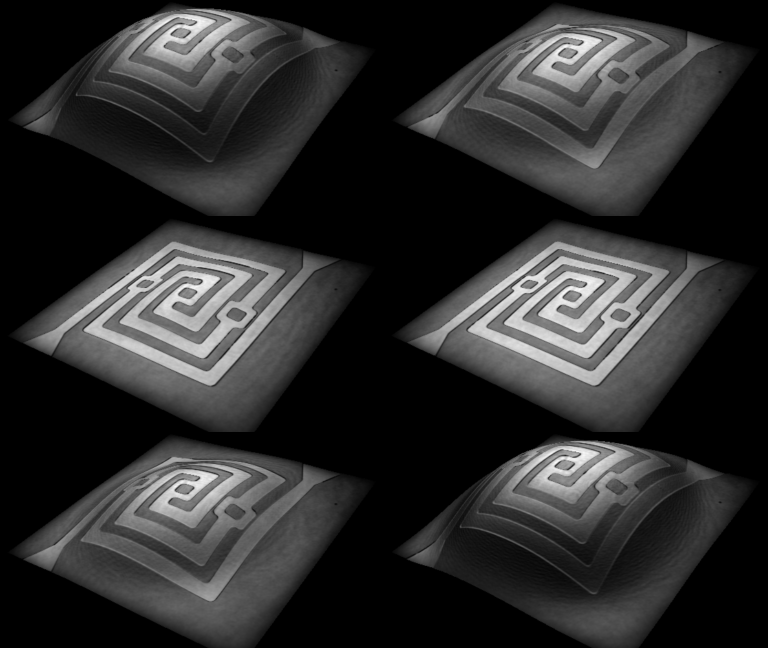
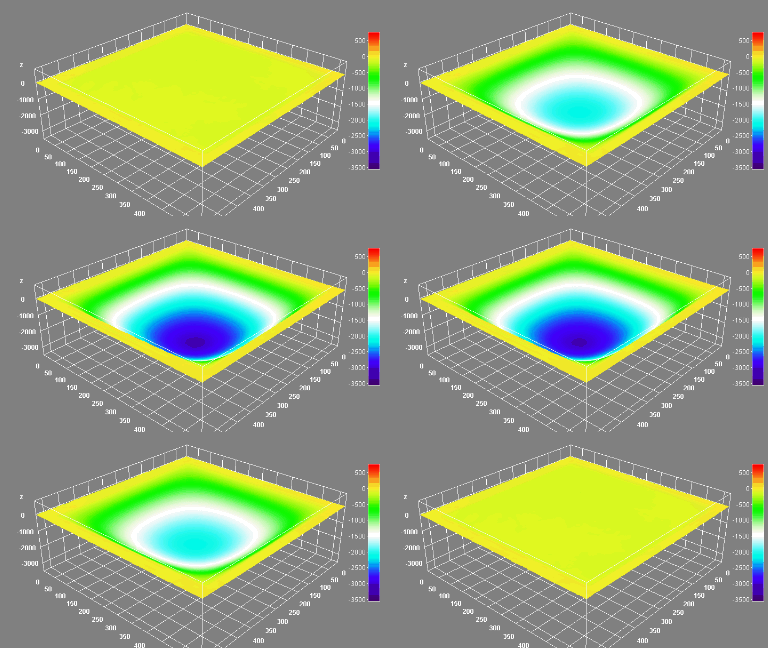
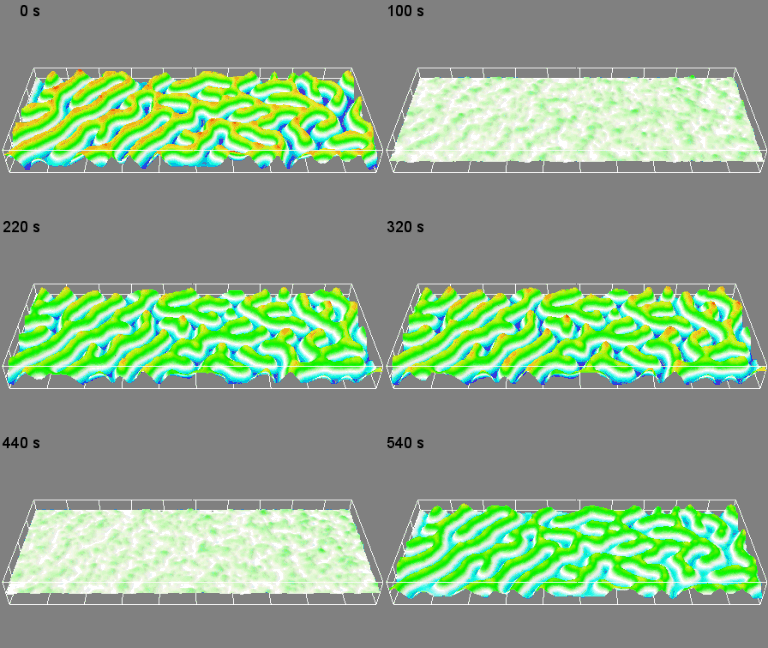
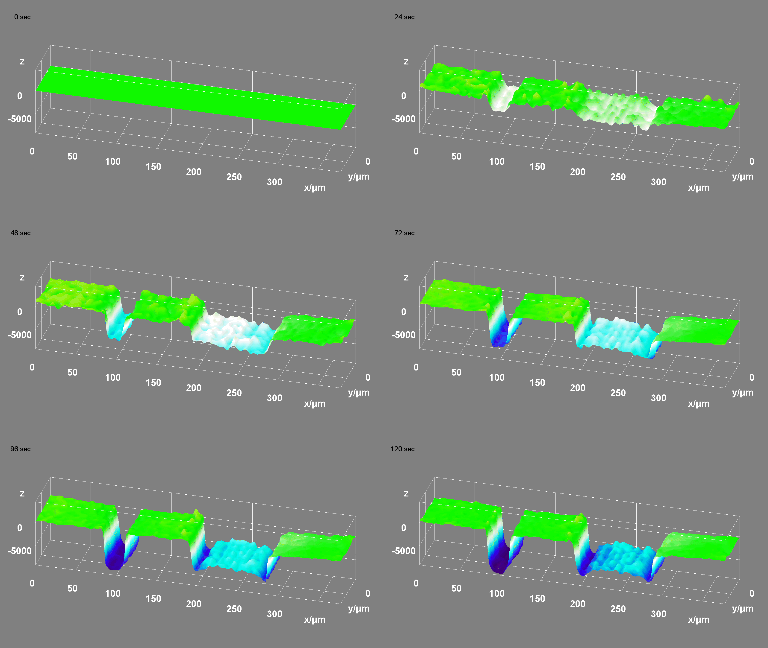
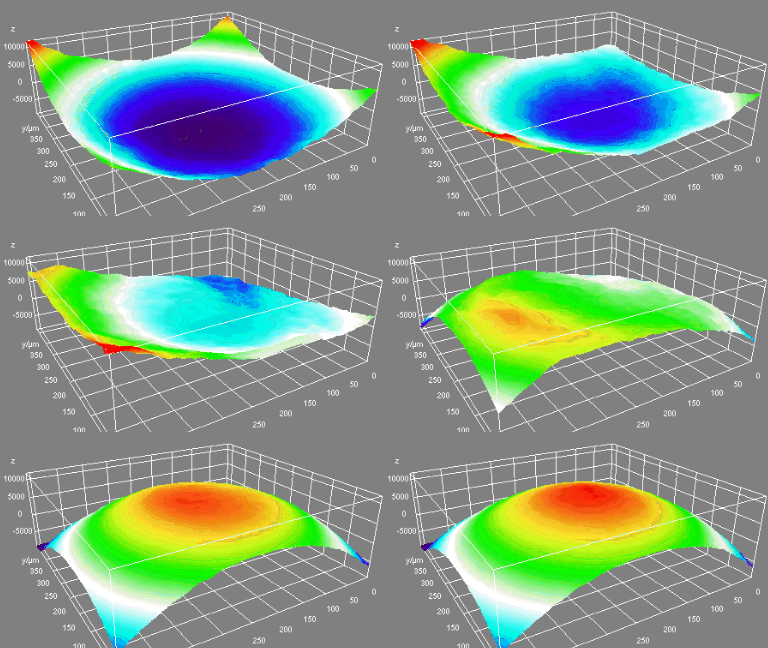
Micro-mirror arrays, also known as digital micro-mirror devices (DMDs), are used in a variety of optical and imaging applications due to their ability to precisely control light by tilting tiny mirrors individually. Many demanding application, for instance mask-less lithography and optical switching for telecom, require perfect calibration of tilt/tilt angle versus applied voltage, and precise control of the Radius Of Curvature (ROC), among others, for ensuring optimal capacities of the final systems.
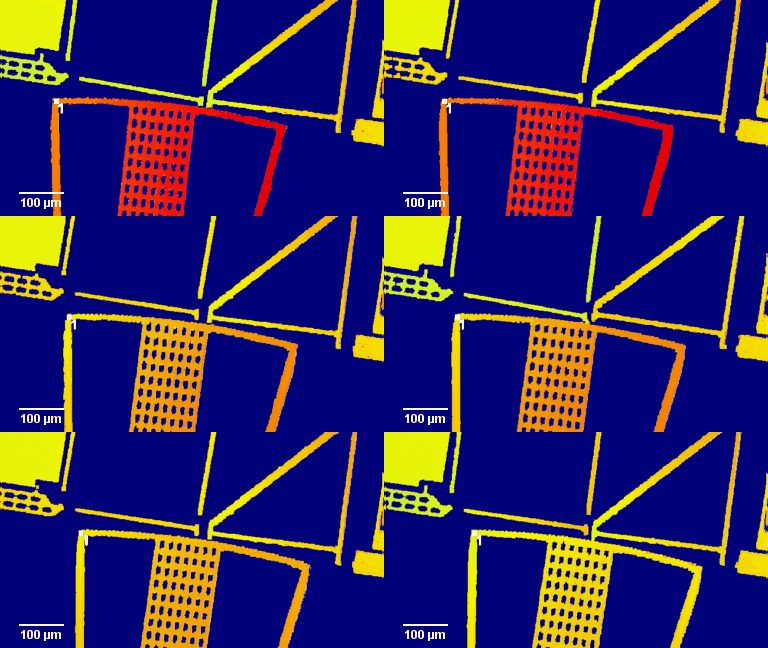
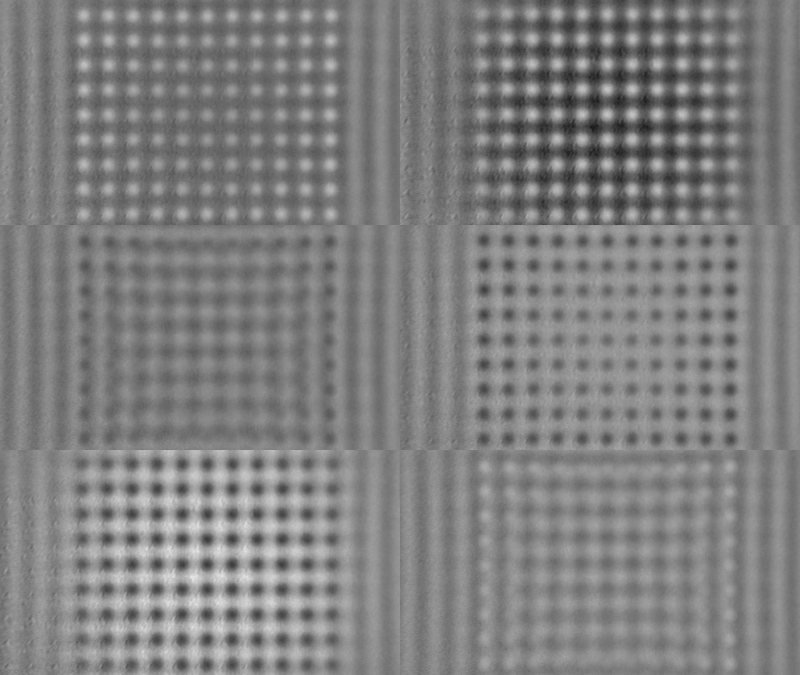
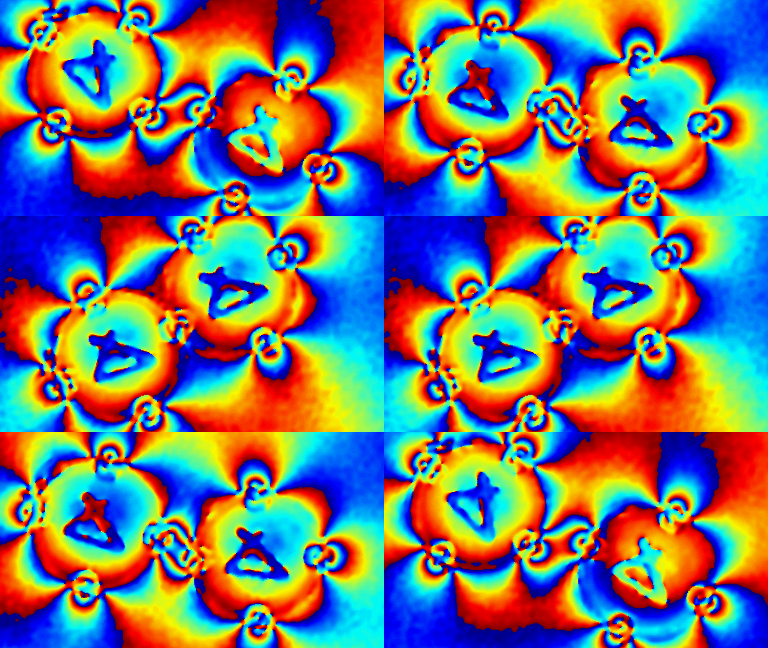
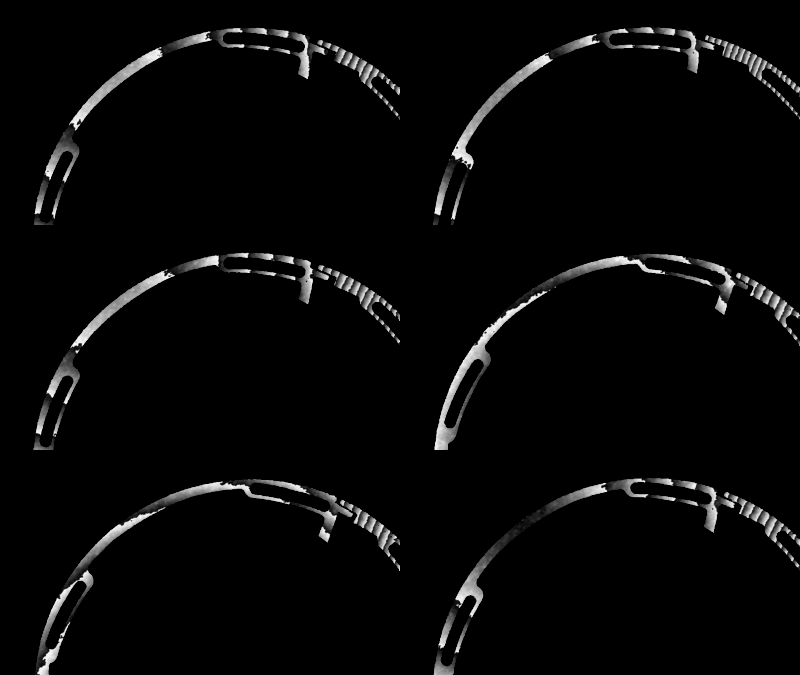
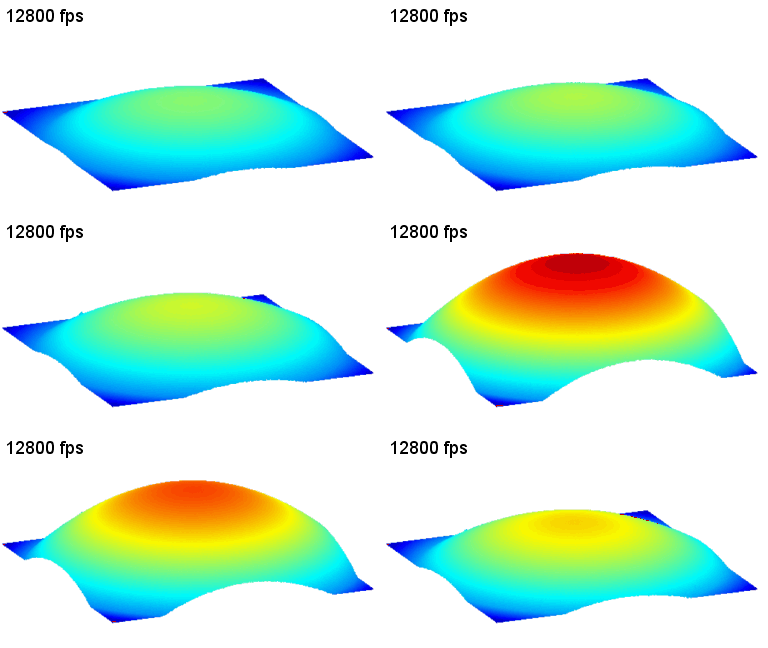
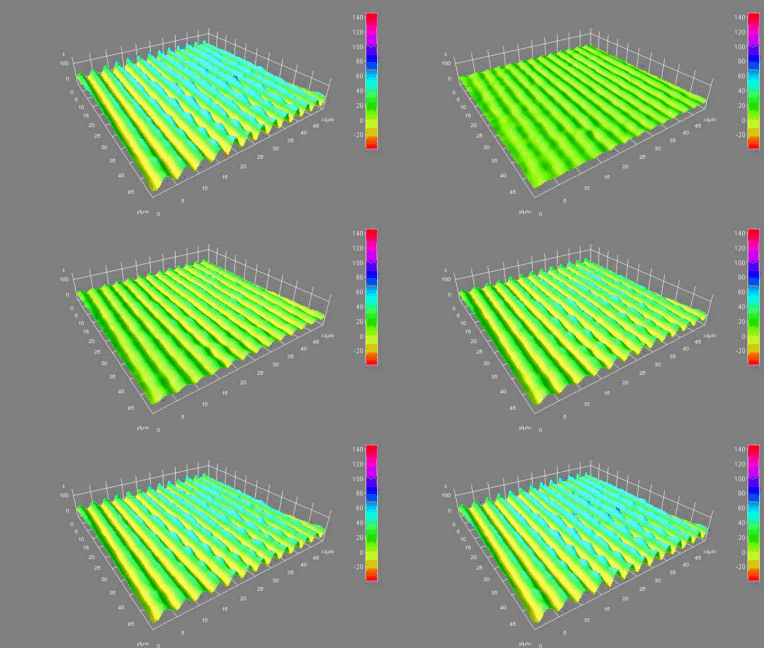
Micro-mirror arrays contain typically thousands to millions of tiny mirrors. Thanks to its unique speed, our DHM® overcomes the limitation of alternative instruments to characterize each of them.
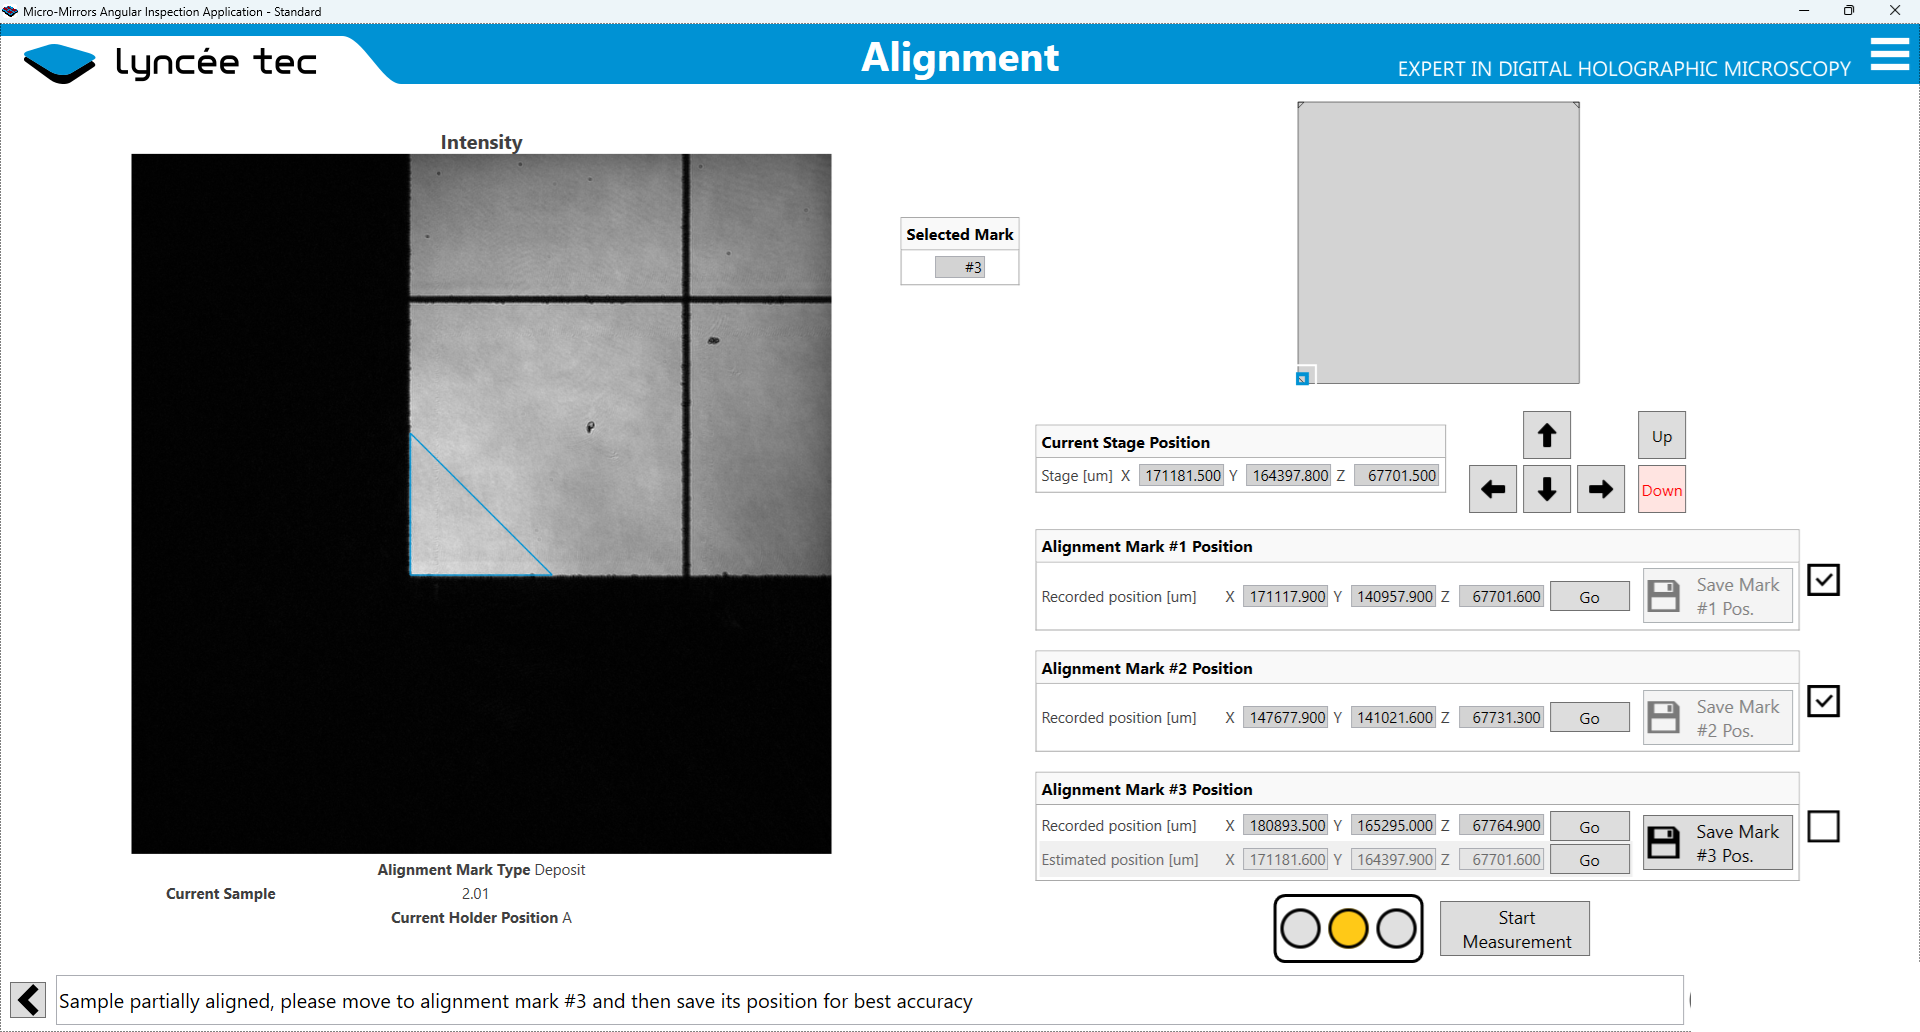
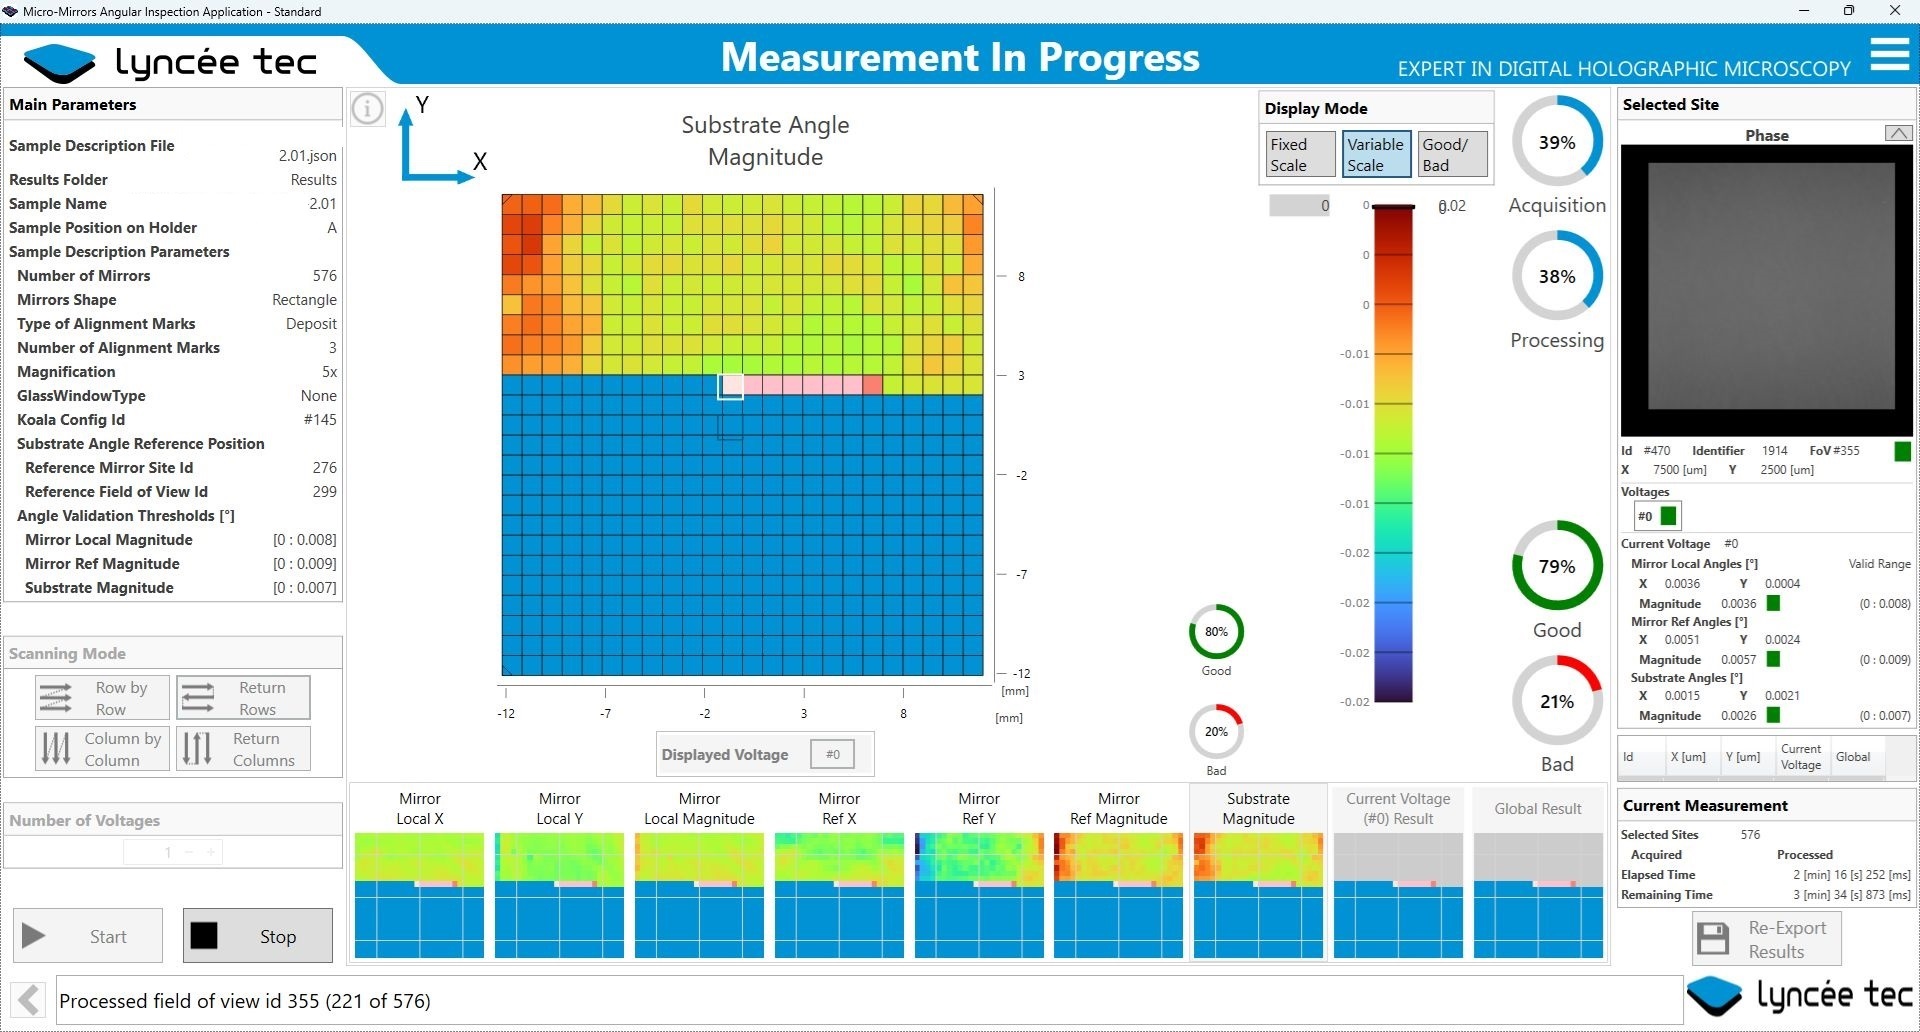
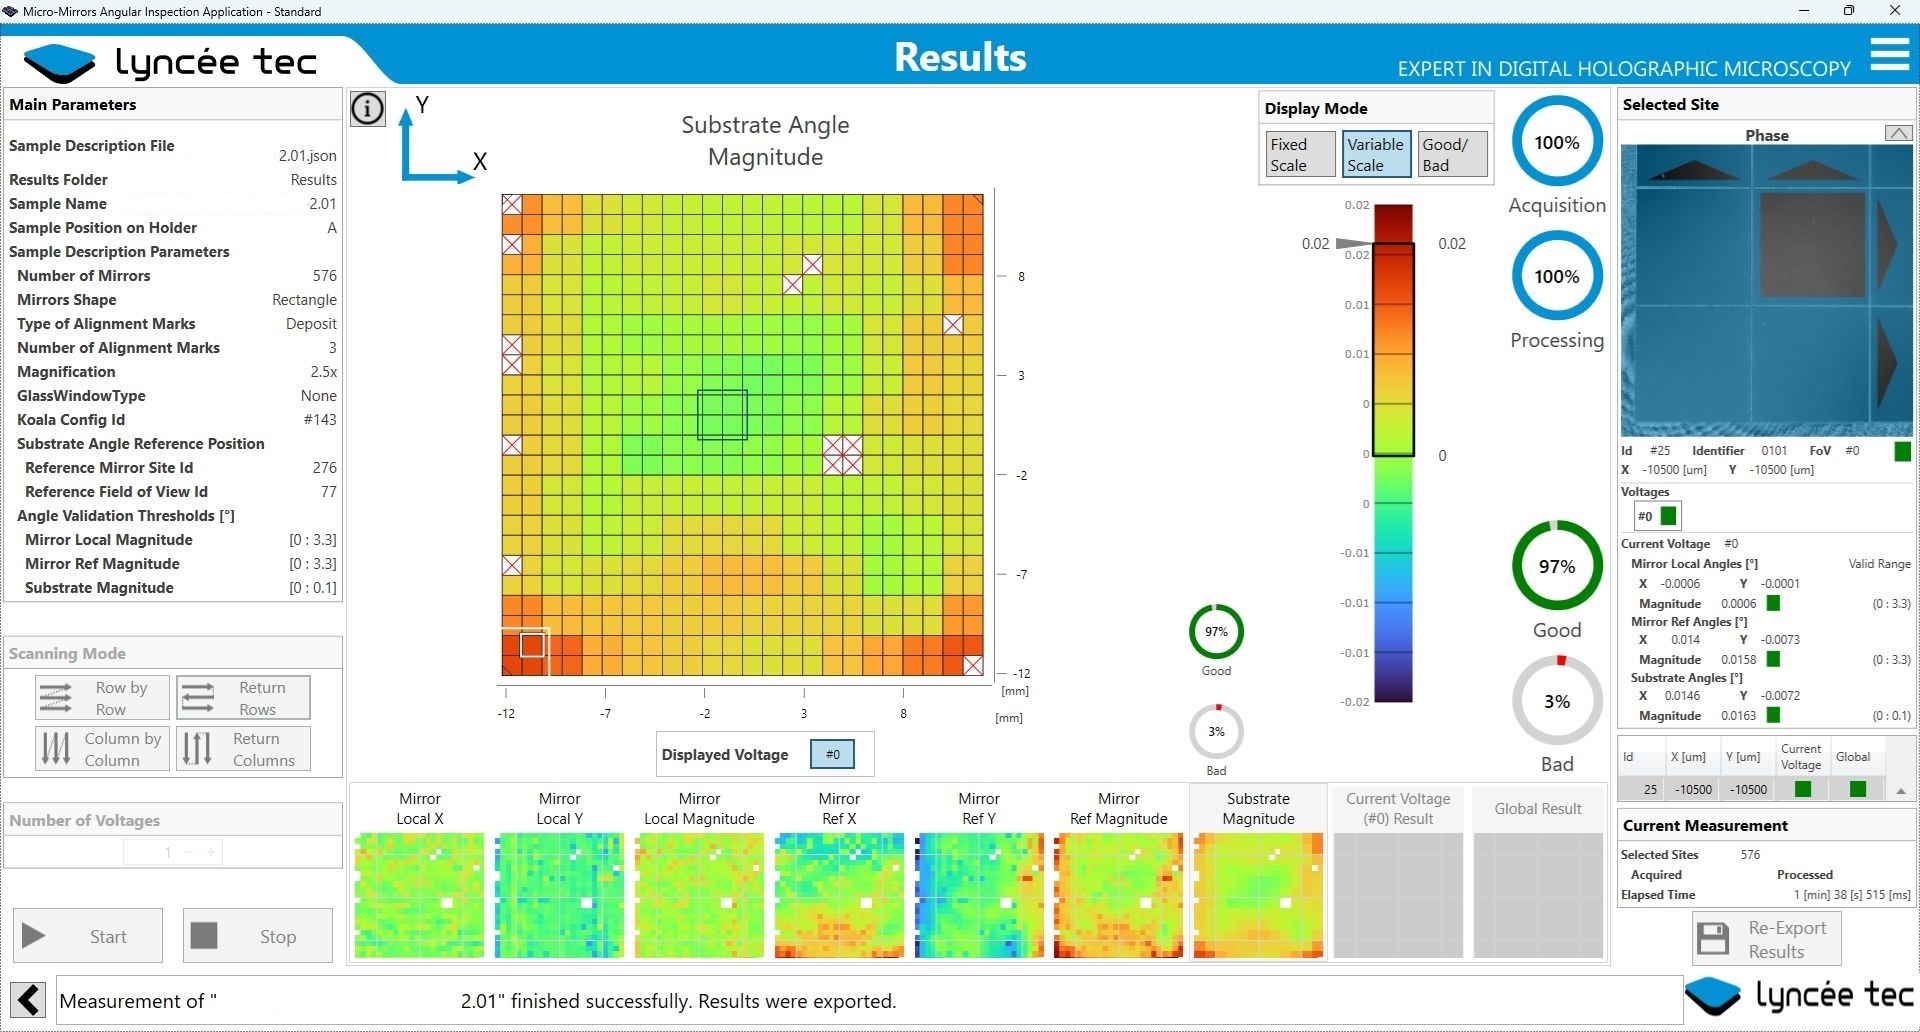
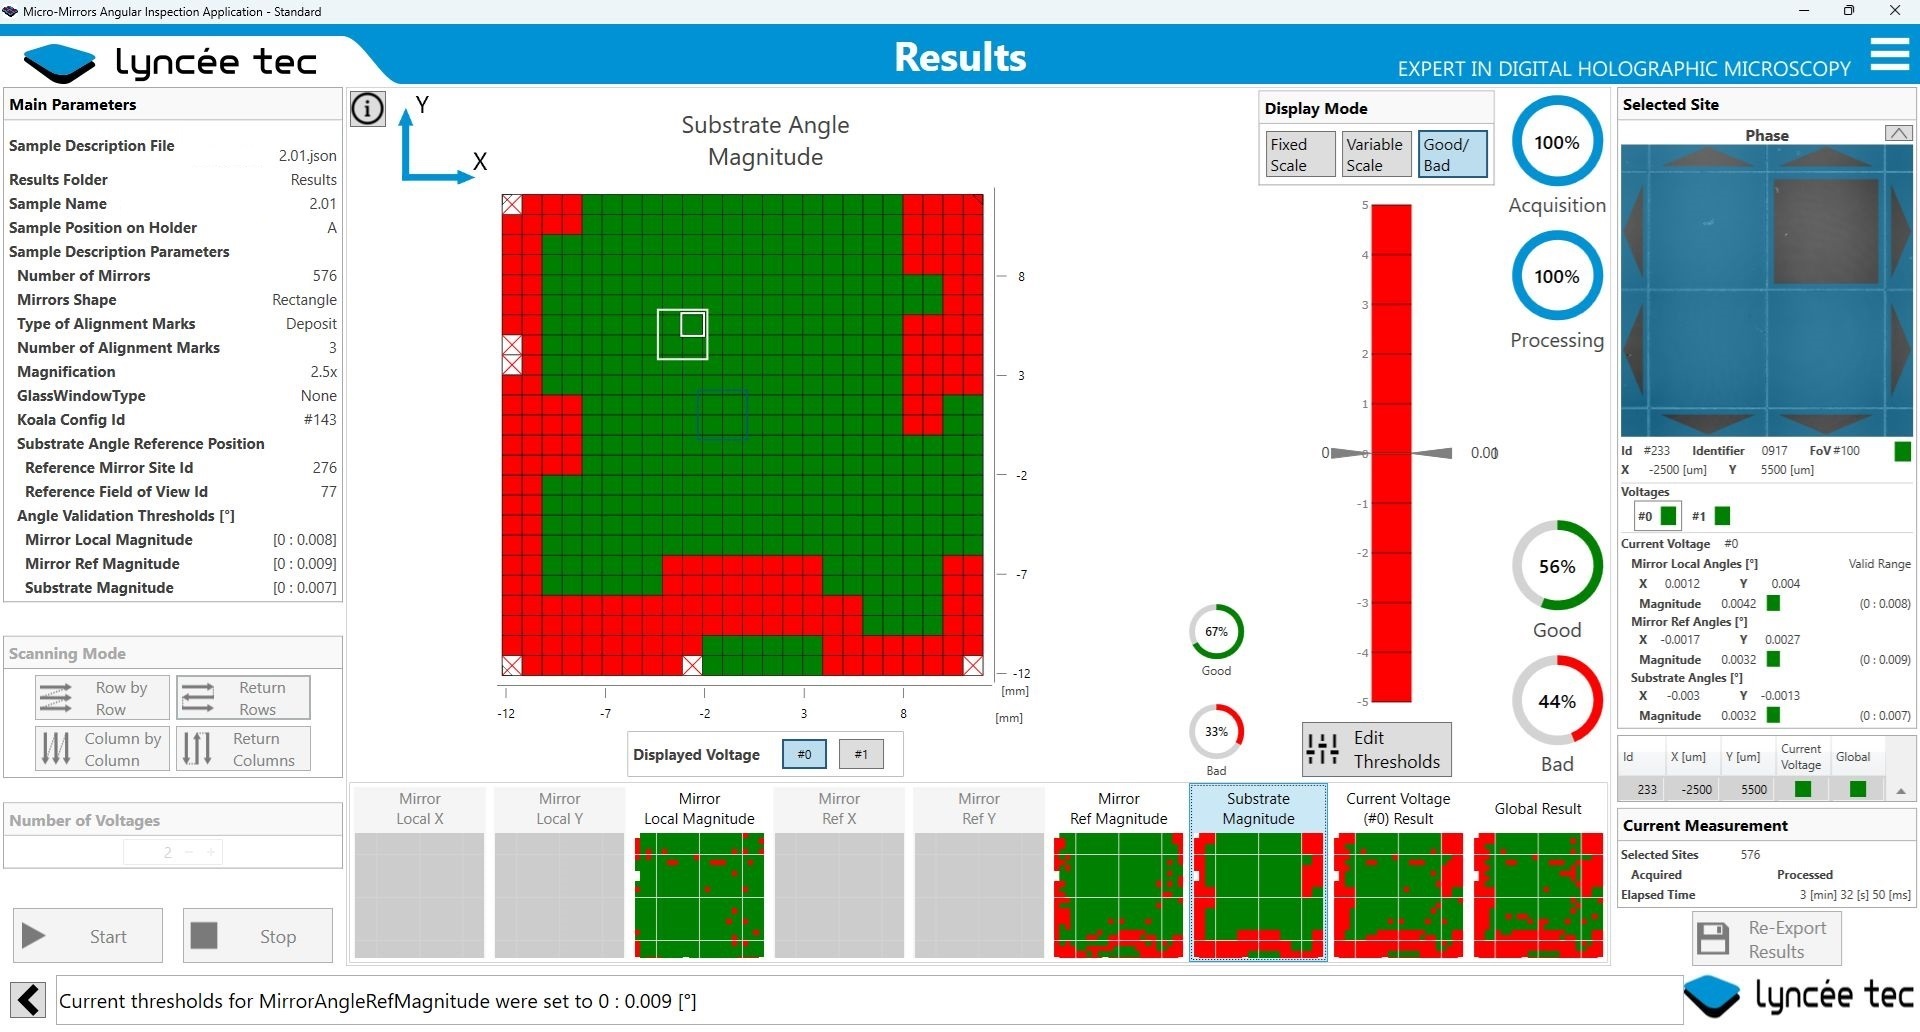
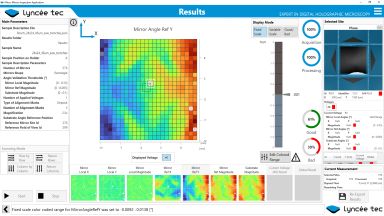
We present in this application our dedicated DHM system and user interface for quality control of micromirror arrays.
Description:
- Material: Silicon wafers, reflective coating on the mirrors
- Acquisition and analysis time:
- 0.25 sec / site
- One site can be composed by several mirrors (mirror size and maximum angle dependant)
- Tilt/tip (Specifications measured on a 1 mm diameter mirrors and a 2.5x objective) :
- Accuracy < 1 mrad
- Thousands of voltages per mirror
- ROC (Specifications measured on a 500 microns ROC reference sphere):
- Accuracy < 0.5%
- Repeatability < 0.05%
- Measurement Process: customized user interface dedicated to the application.
- Manual loading of the micro-mirror array device
- Semi-automated alignement
- Automated scan of all or of pre-selected sites
- Automated ROC measurements
- Automated control of the voltages and tilp/tip measurement
- Automated reporting
- Instrument:
- DHM® R1000 (single wavelength & multiple objective)
- Objective magnification: 2.5x, 5x, 10x, 20x, 40x, 50x, 100x
- Industrial grade workstation with motorized stage up to 300x300x100 mm
