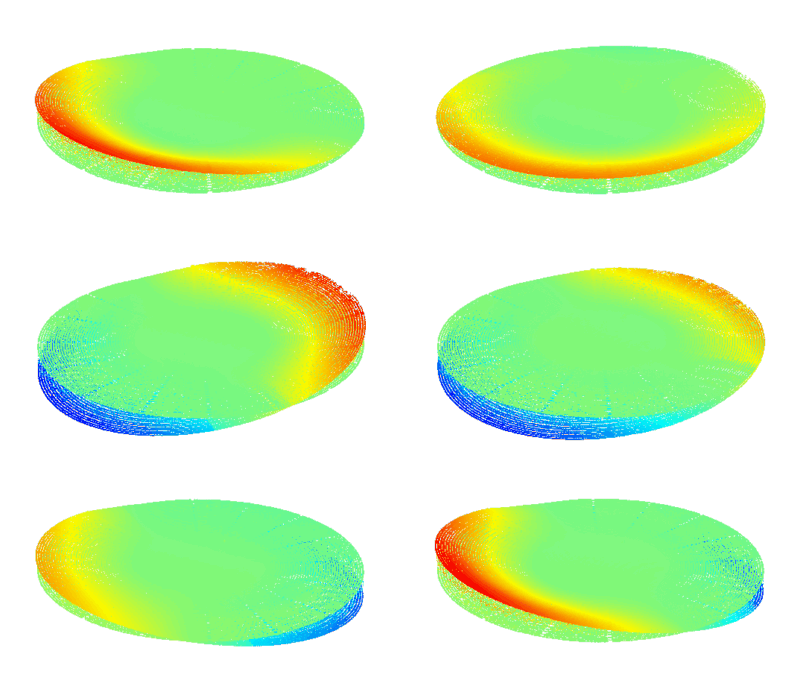
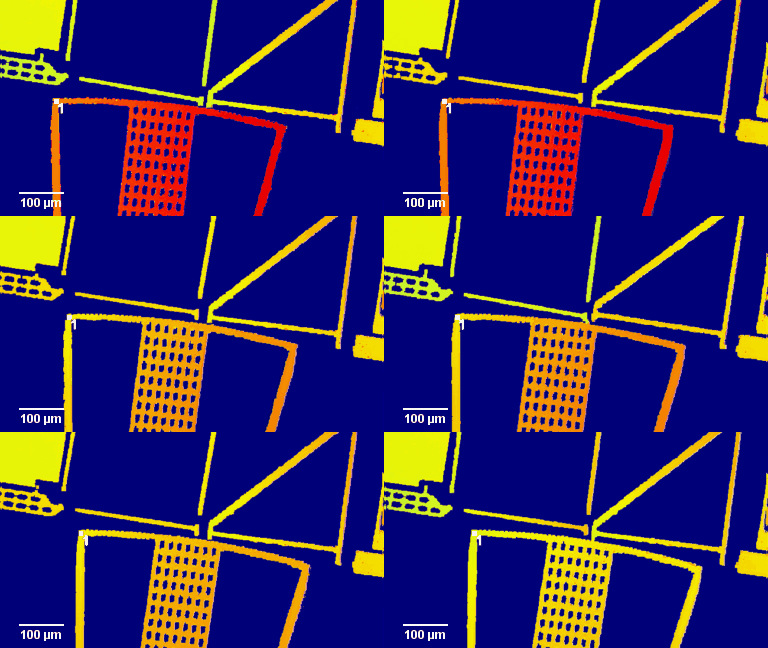
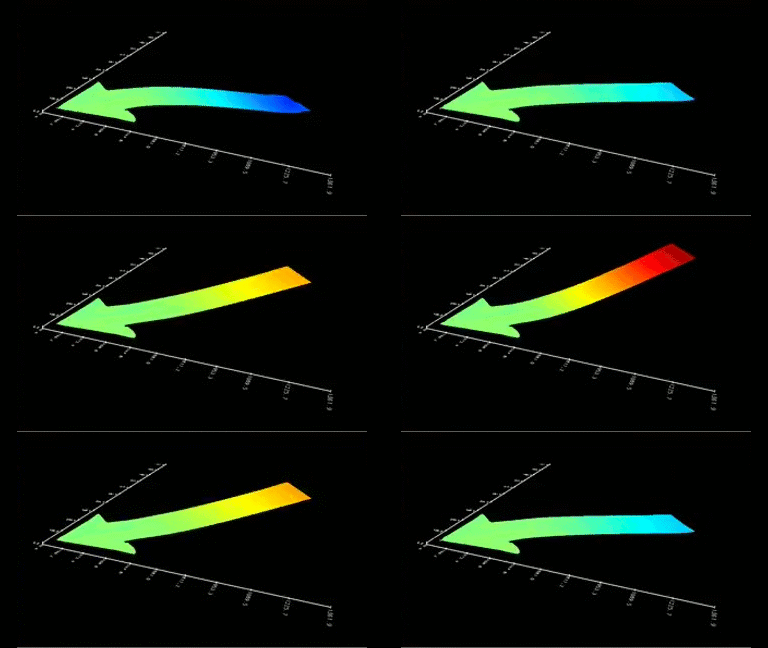
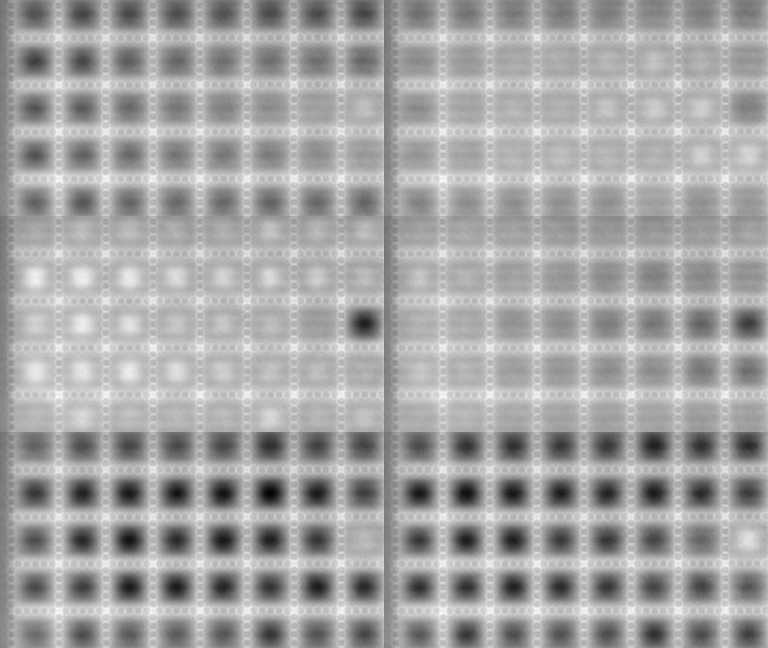
Micro-Lenses Quality control
Wafer level quality control of micro-lenses with manual loading
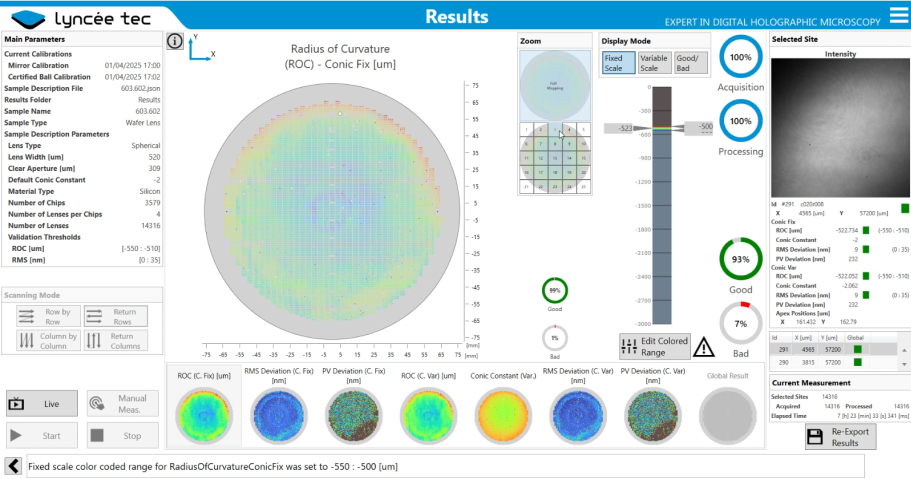
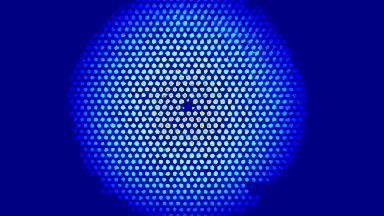
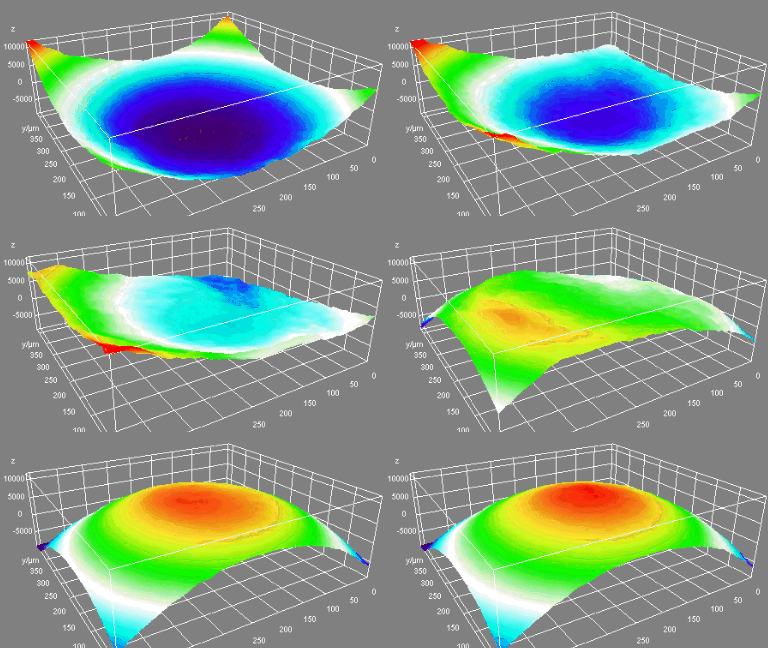
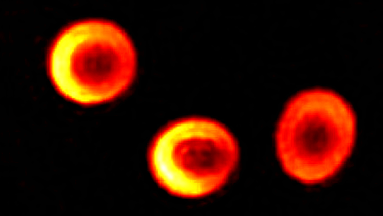
The precise measurement of the ROC (radius of curvature), conic constant, and the deviation from a perfect surface (RMS – Root Mean Square) of micro-lenses enables to fully characterize their geometry, ensuring their optical performance. Evaluating each micro lens of a wafer ensures its quality and uniformity and guarantees the proper functioning of the final devices..
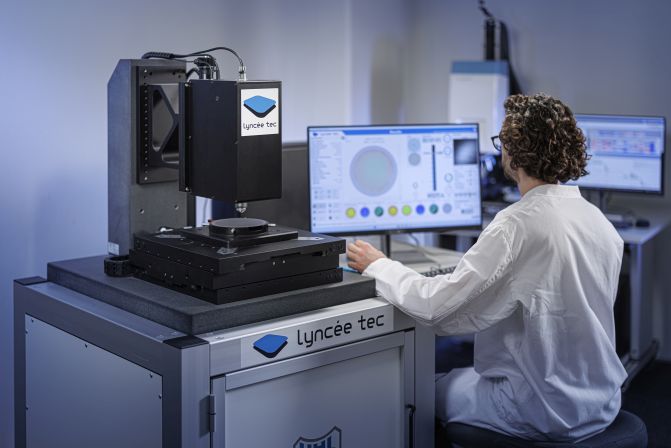
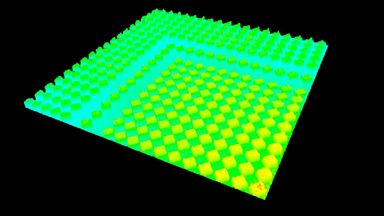
Wafers contain tens of thousands of micro-lenses. Thanks to its unique speed, our DHM® overcomes the limitation of alternative instruments to characterize a sufficient number of lenses.
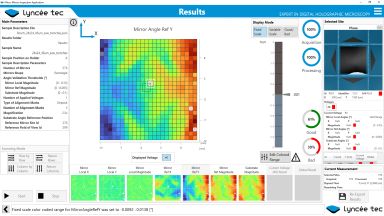
We present in this application our dedicated DHM system and user interface for wafer level quality control of micro lenses geometry.
Description:
- Micro-lenses/Wafer Material: Glass or Silicon
- Acquisition and analysis time: 0.25 sec / lens
- ROC > 250 microns (objective selection dependant)
- specifications measured on a 500 microns ROC reference sphere
- Accuracy < 0.5%
- Repeatability < 0.05%
- specifications measured on a 500 microns ROC reference sphere
- Measurement Process: customized user interface dedicated to the application.
- Manual loading of the wafer
- Semi-automated alignment
- Automated scan of all or of pre-selected sites
- Automated measurement of the ROC, Conic constant, and RMS
- Automated reporting
- Instrument:
- Industrial DHM® R100 (single wavelength & single objective)
- Objective magnification: 2.5x, 5x, 10x, or 20x
- Industrial grade workstation with motorized stage up to 300x300x100 mm

